

Childproof Doorknob
I put Schlage Bowery knobs on every door in the house, and then had kids. Every childproof cover I could buy was a white plastic clamshell that clipped over the top and made nice hardware look like a hospital fitting. This is the replacement: a printed shell that goes on behind the knob during installation, is trapped there when the knob clicks onto the spindle, and spins uselessly in a small hand.
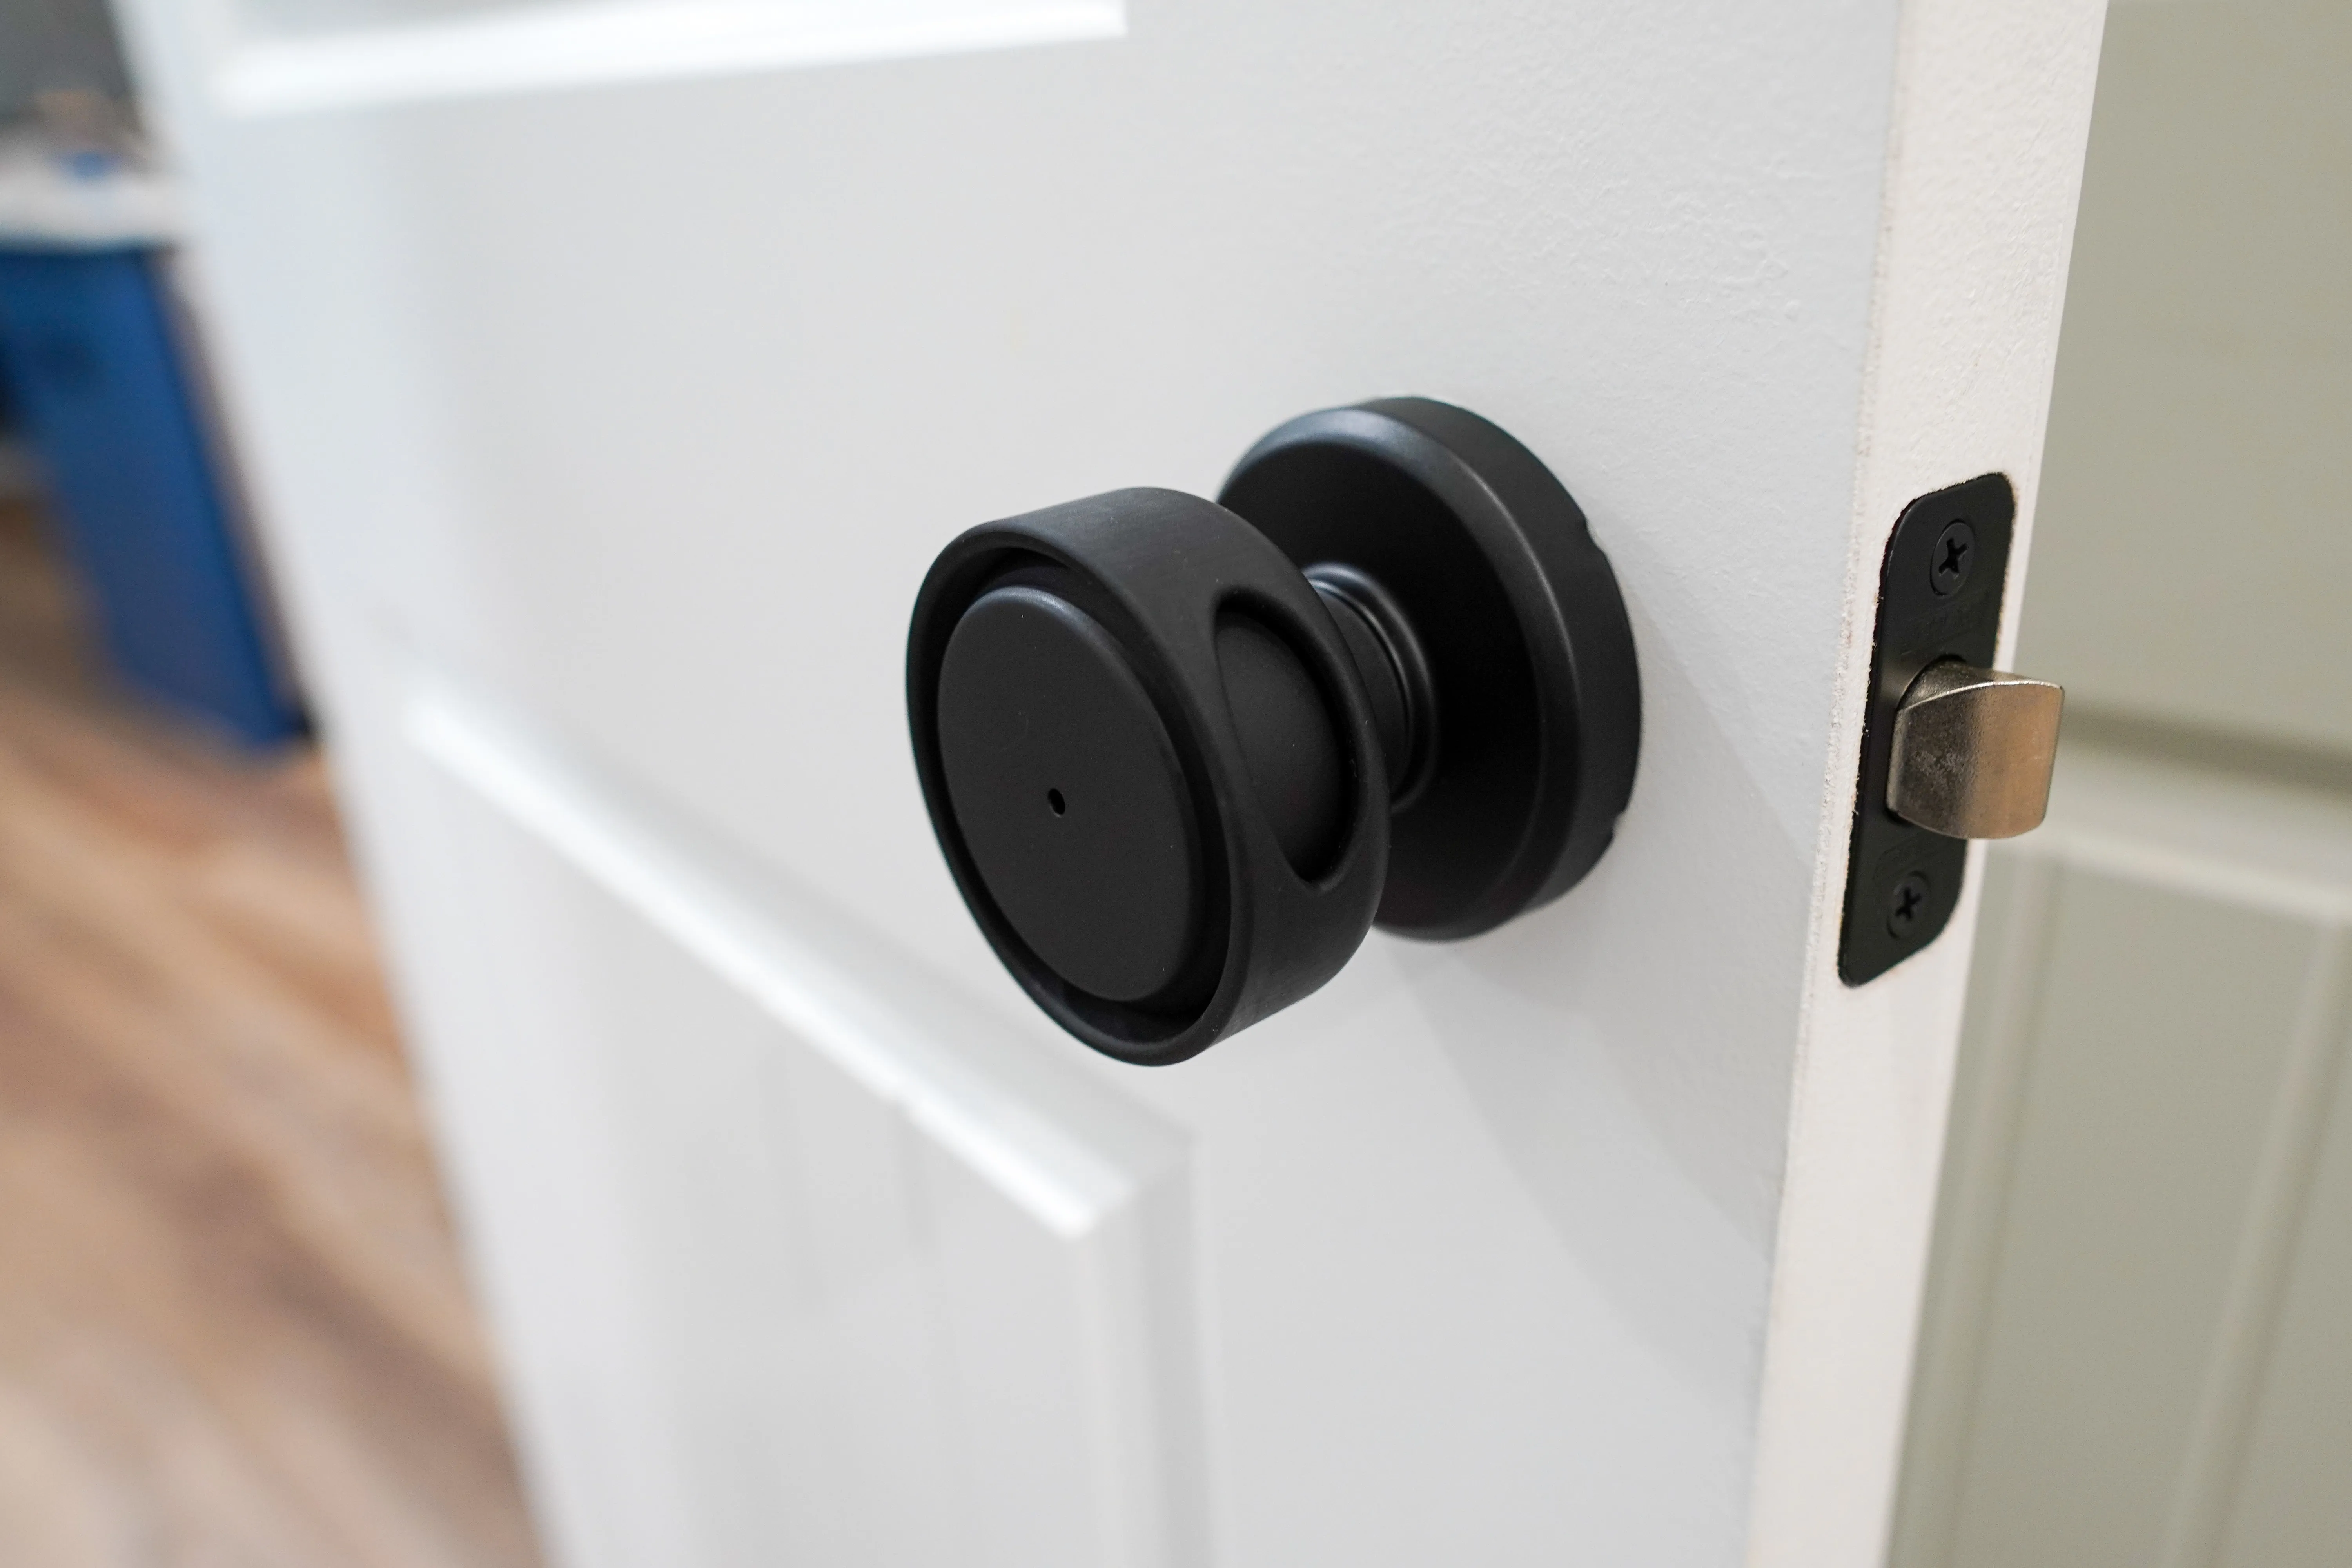
It costs about 20 mL of resin per door. A 1 kg bottle is forty of them, which is more doors than most houses have.
Parts
Some links below are Amazon affiliate links. As an Amazon Associate I earn from qualifying purchases — at no extra cost to you. It helps keep these guides free. Outside the US, they should send you to your own Amazon store; if one doesn't, searching the part number there will find it.
- Schlage F10 Bowery knob with Greyson trim, matte black — this is the knob the cover is modelled to, one per door. It is the passage version: no lock, which is exactly why it needs a cover
- ELEGOO water-washable 405 nm resin, black, 1 kg — rigid enough to work, soft enough not to scratch the knob, and a near-exact match to the matte black finish
- ELEGOO Mars 3 MSLA printer — the part is 63 mm across and 40.5 mm tall, so it fits any resin printer made in the last decade
- ELEGOO Mercury Plus 2-in-1 wash and cure station — water-washable resin means the wash tank takes tap water, no isopropyl
- Nitrile gloves — uncured resin is a sensitiser, and you only get to develop that allergy once
- Needle file set and wet/dry sandpaper for the collar bore and the rim
- Digital caliper — you will be measuring a 23 mm hole against a knob neck
Printing it on FDM instead: a Bambu Lab A1 and a spool of black PLA+ will make a working cover. Print it in plain PLA or PETG, not carbon-filled — CF filament is abrasive, and this part rubs against a painted knob every time somebody opens the door.
The cover only fits the Bowery. Schlage’s knobs are not interchangeable — a Georgian or a Plymouth has a different neck diameter and a different head profile, and the STL will not fit either. The STEP file is in the download section for exactly that reason.
The knob
The Bowery is a “screwless” knob, and that detail is what makes this design possible. The base screws to the door, the trim ring snaps over the base, and the knob itself clips onto the spindle last.
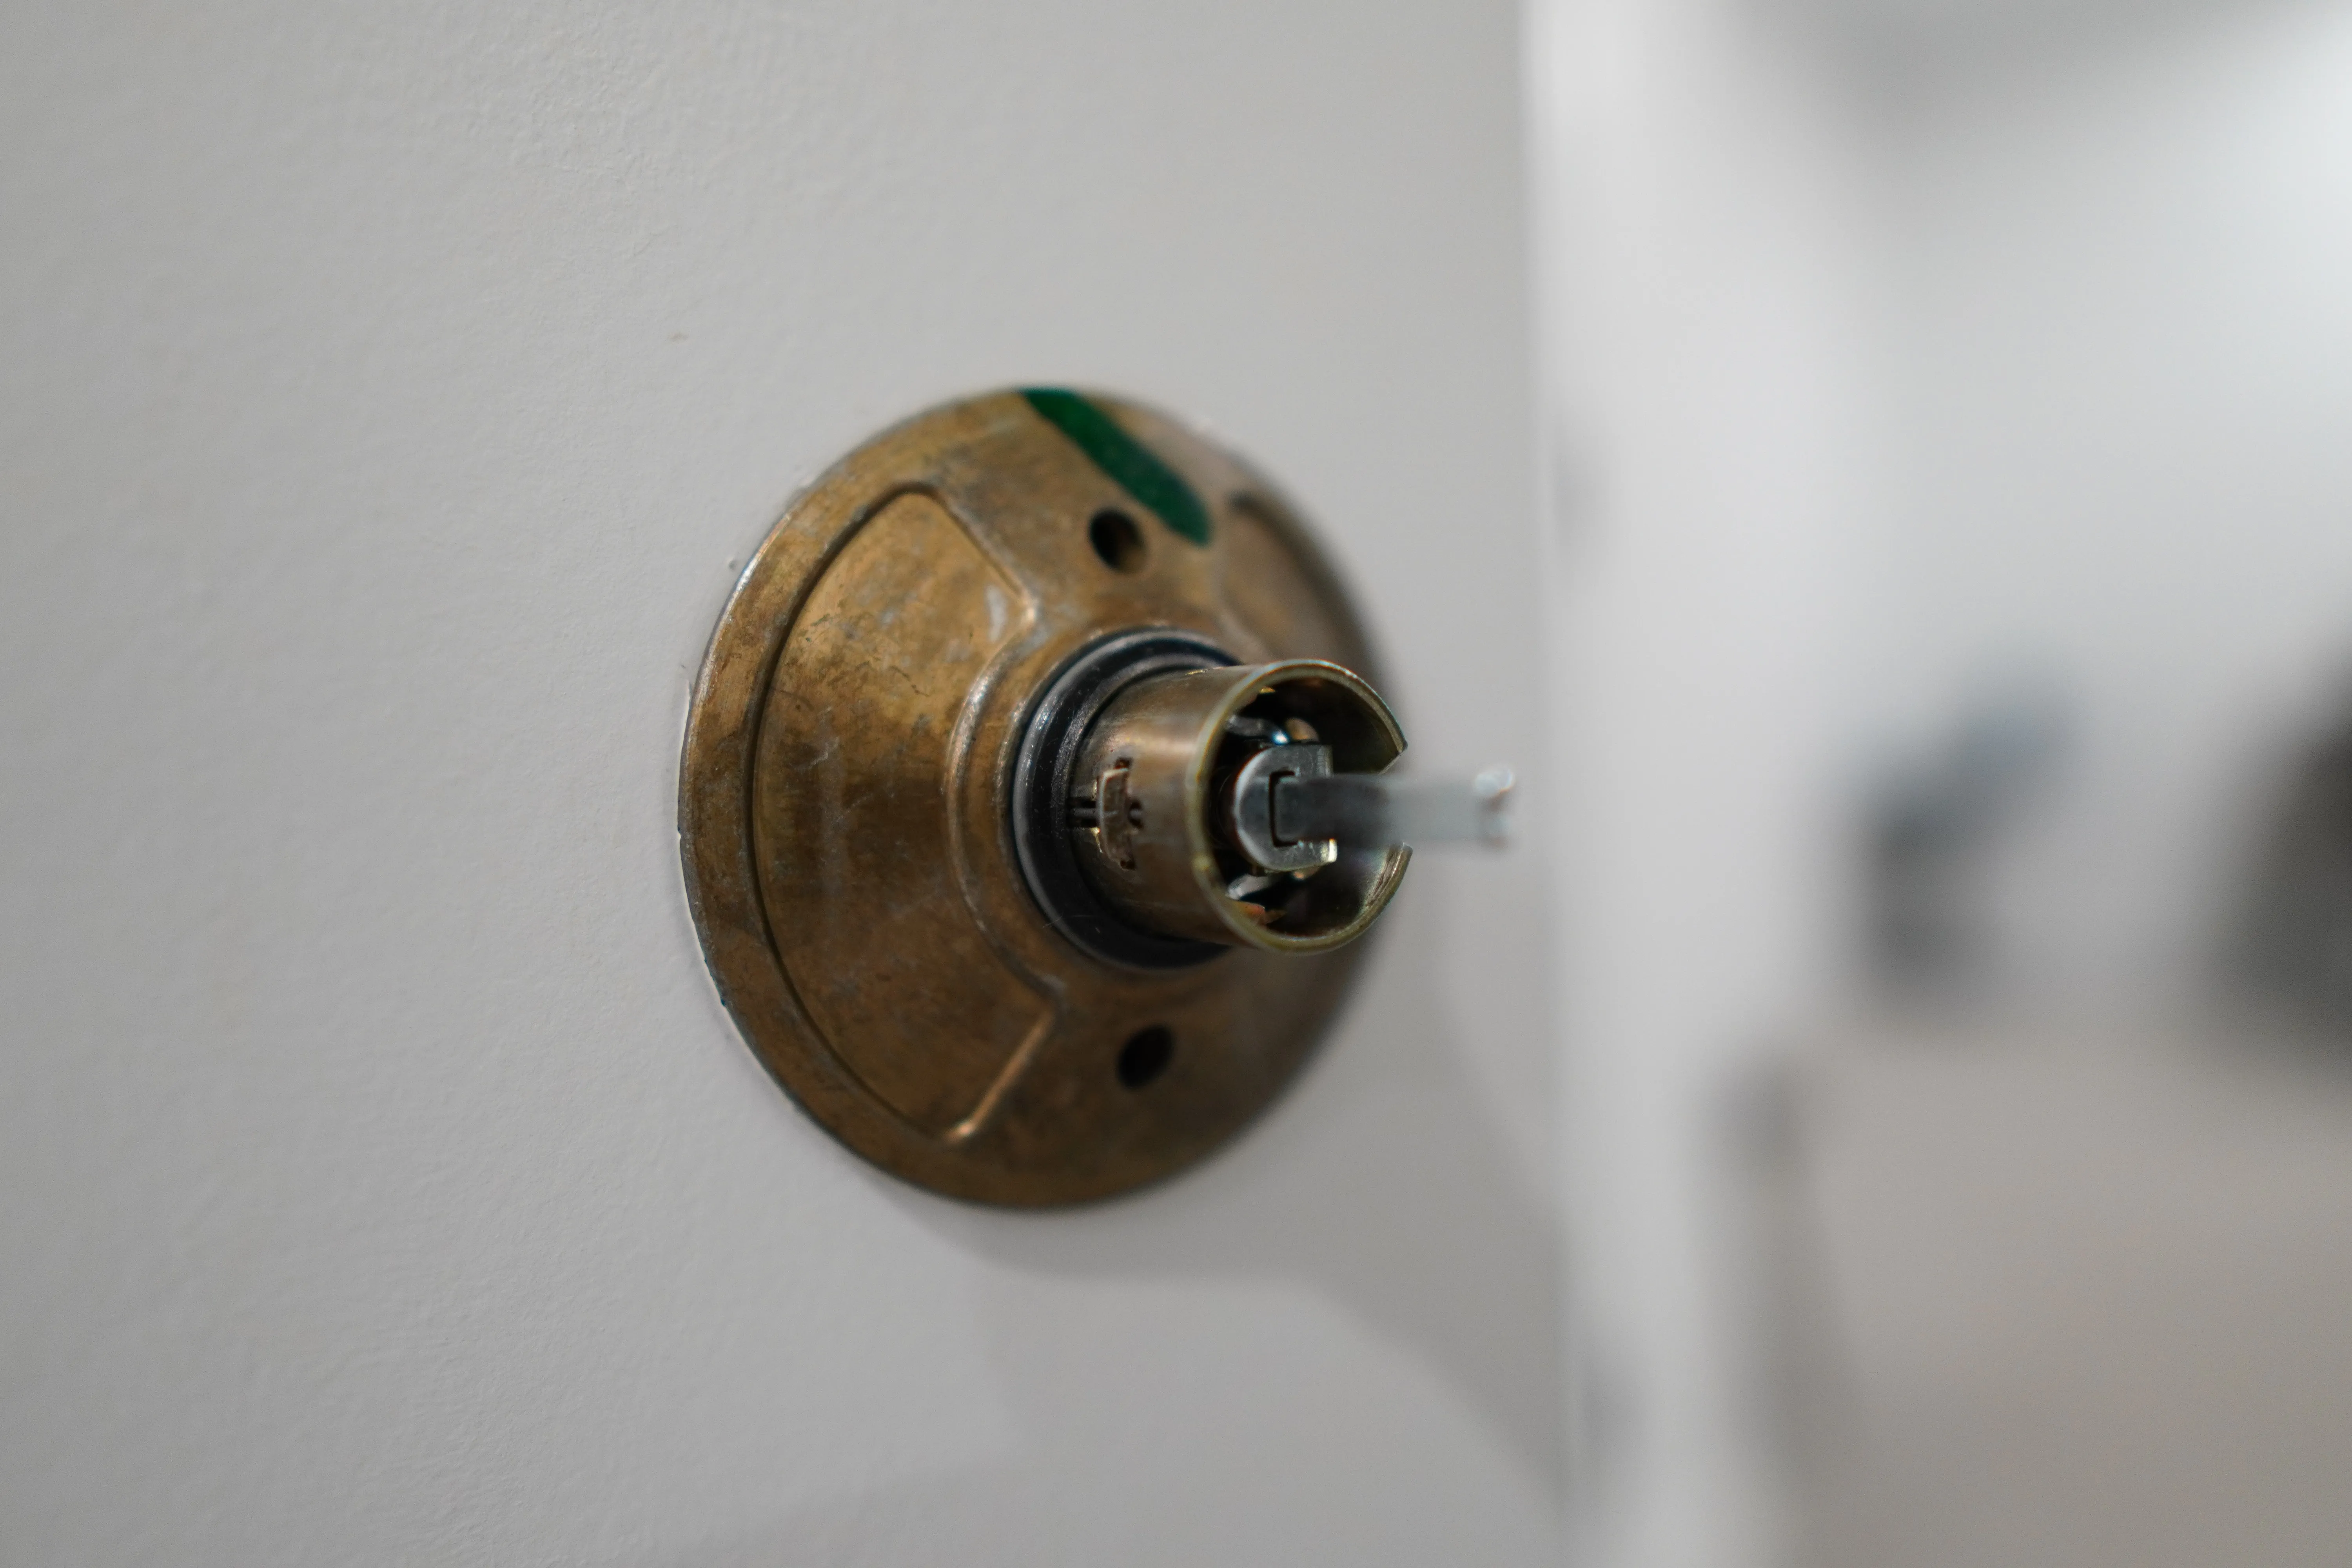
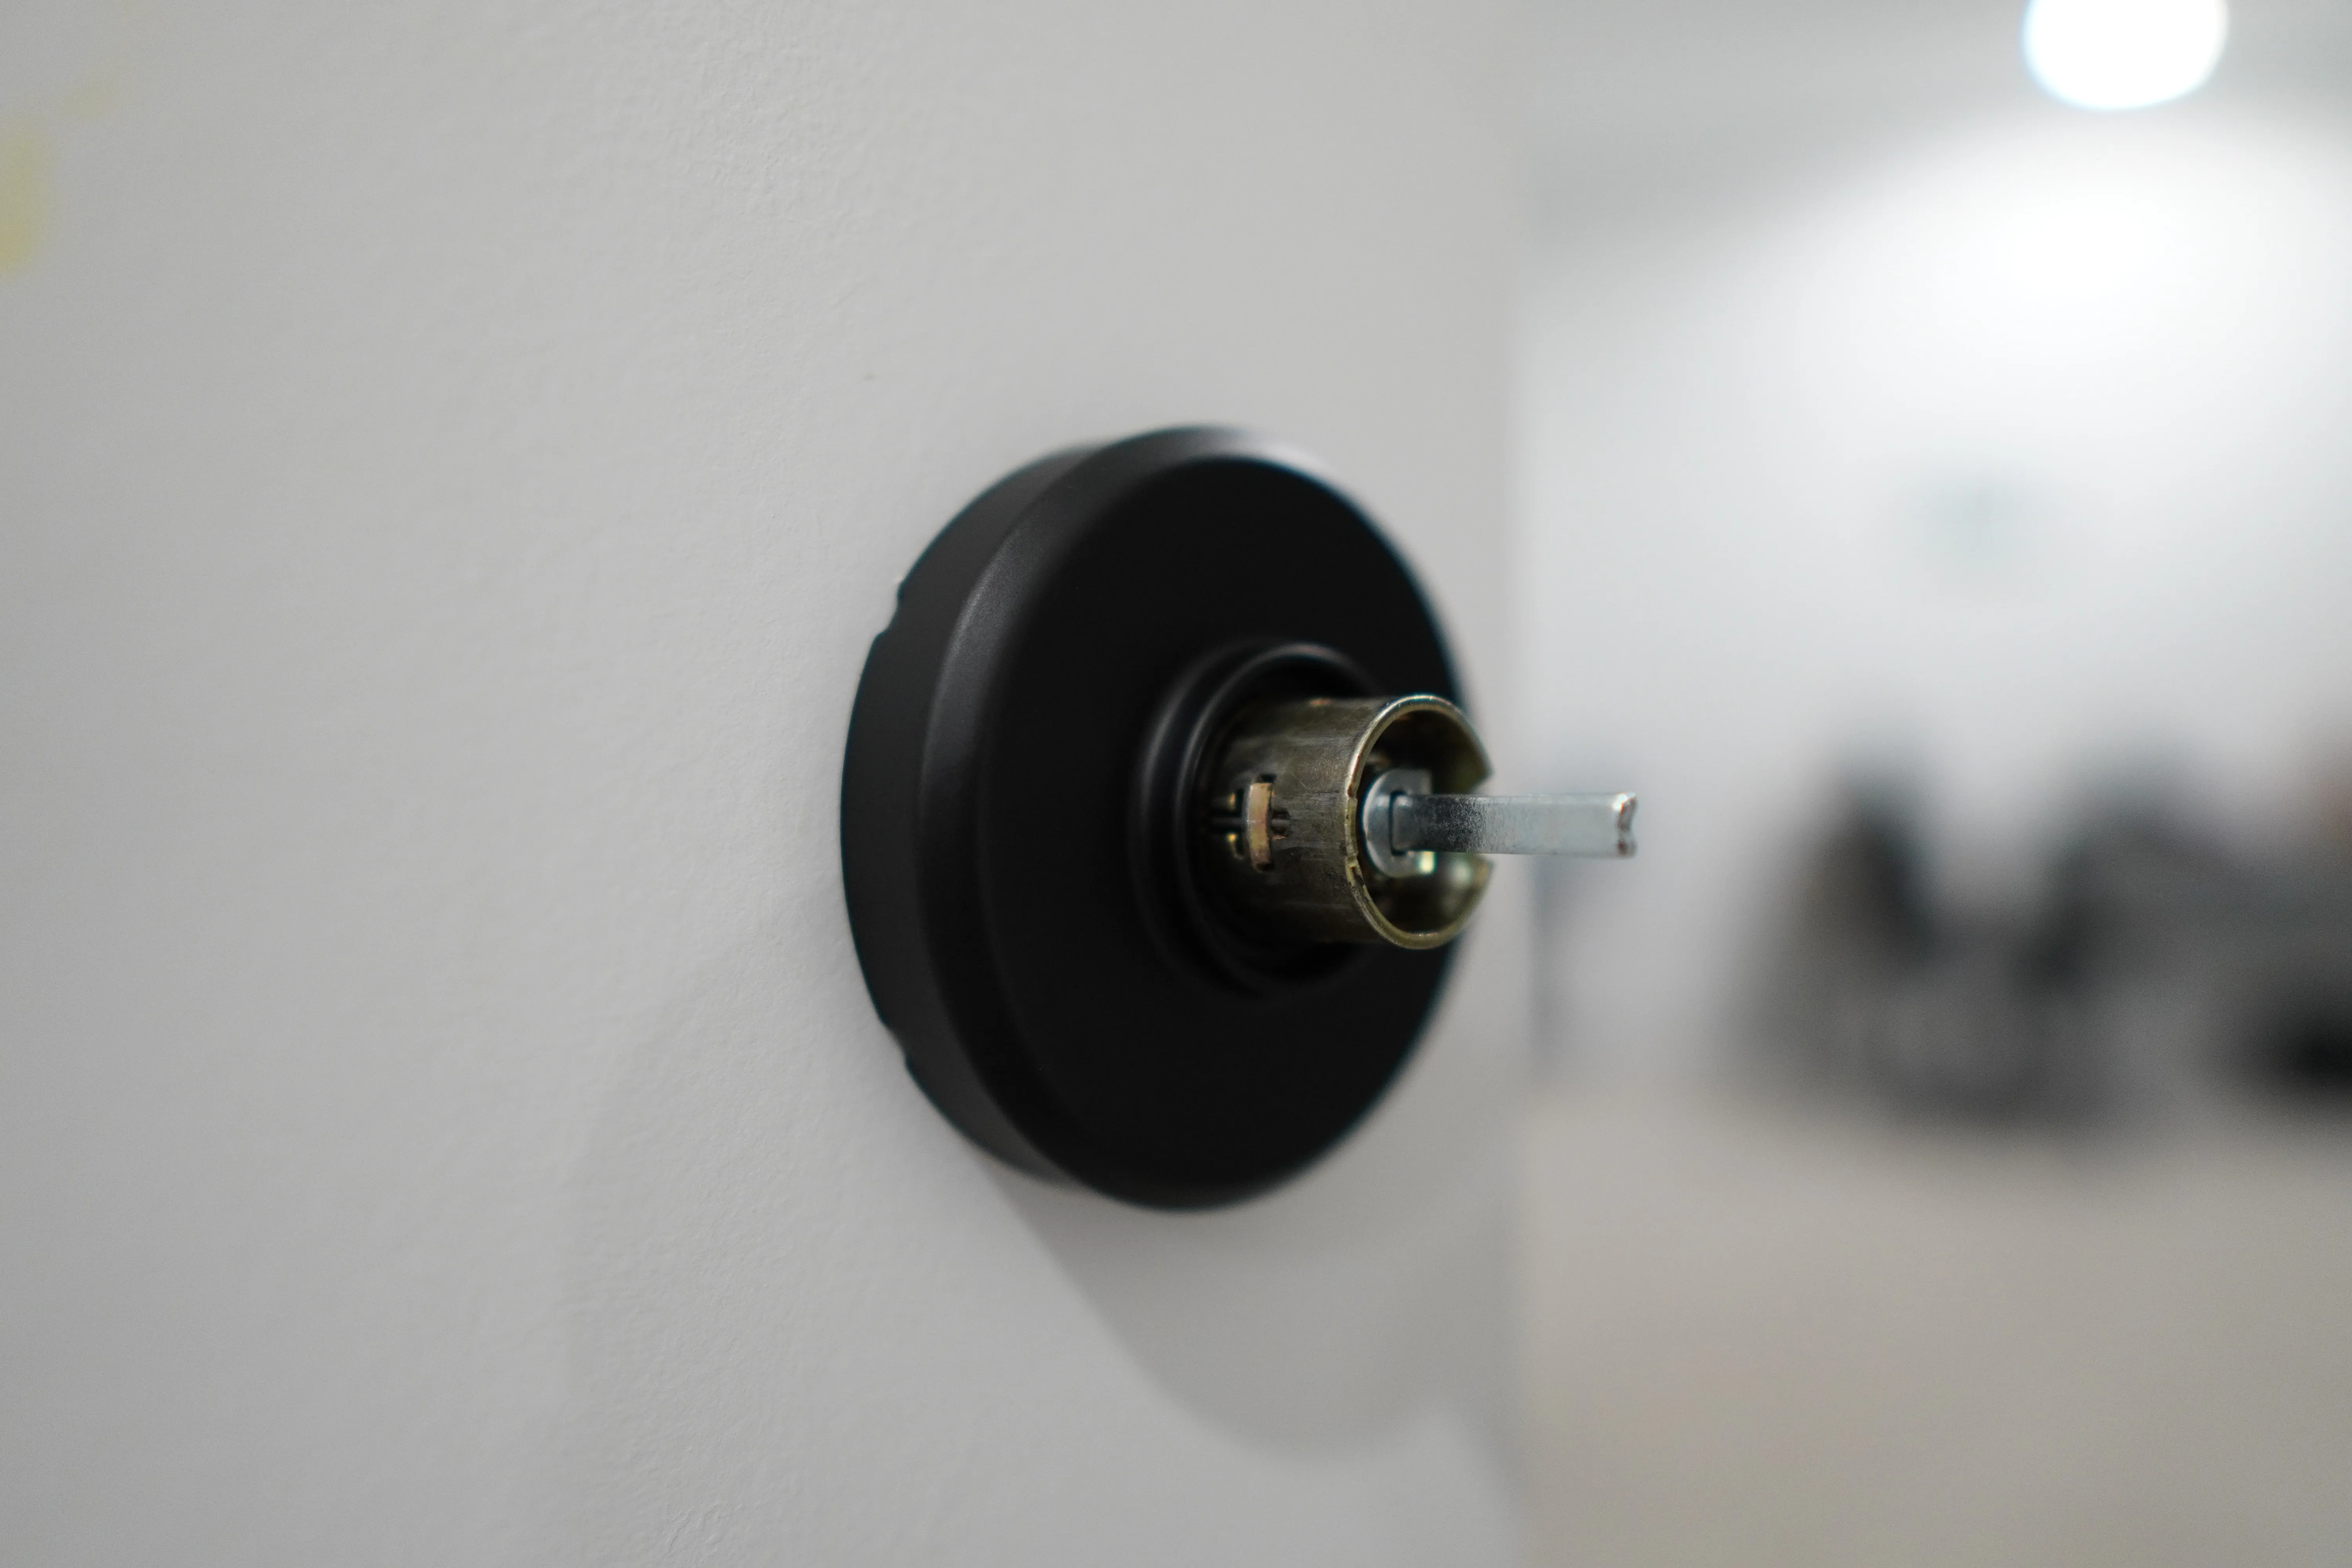
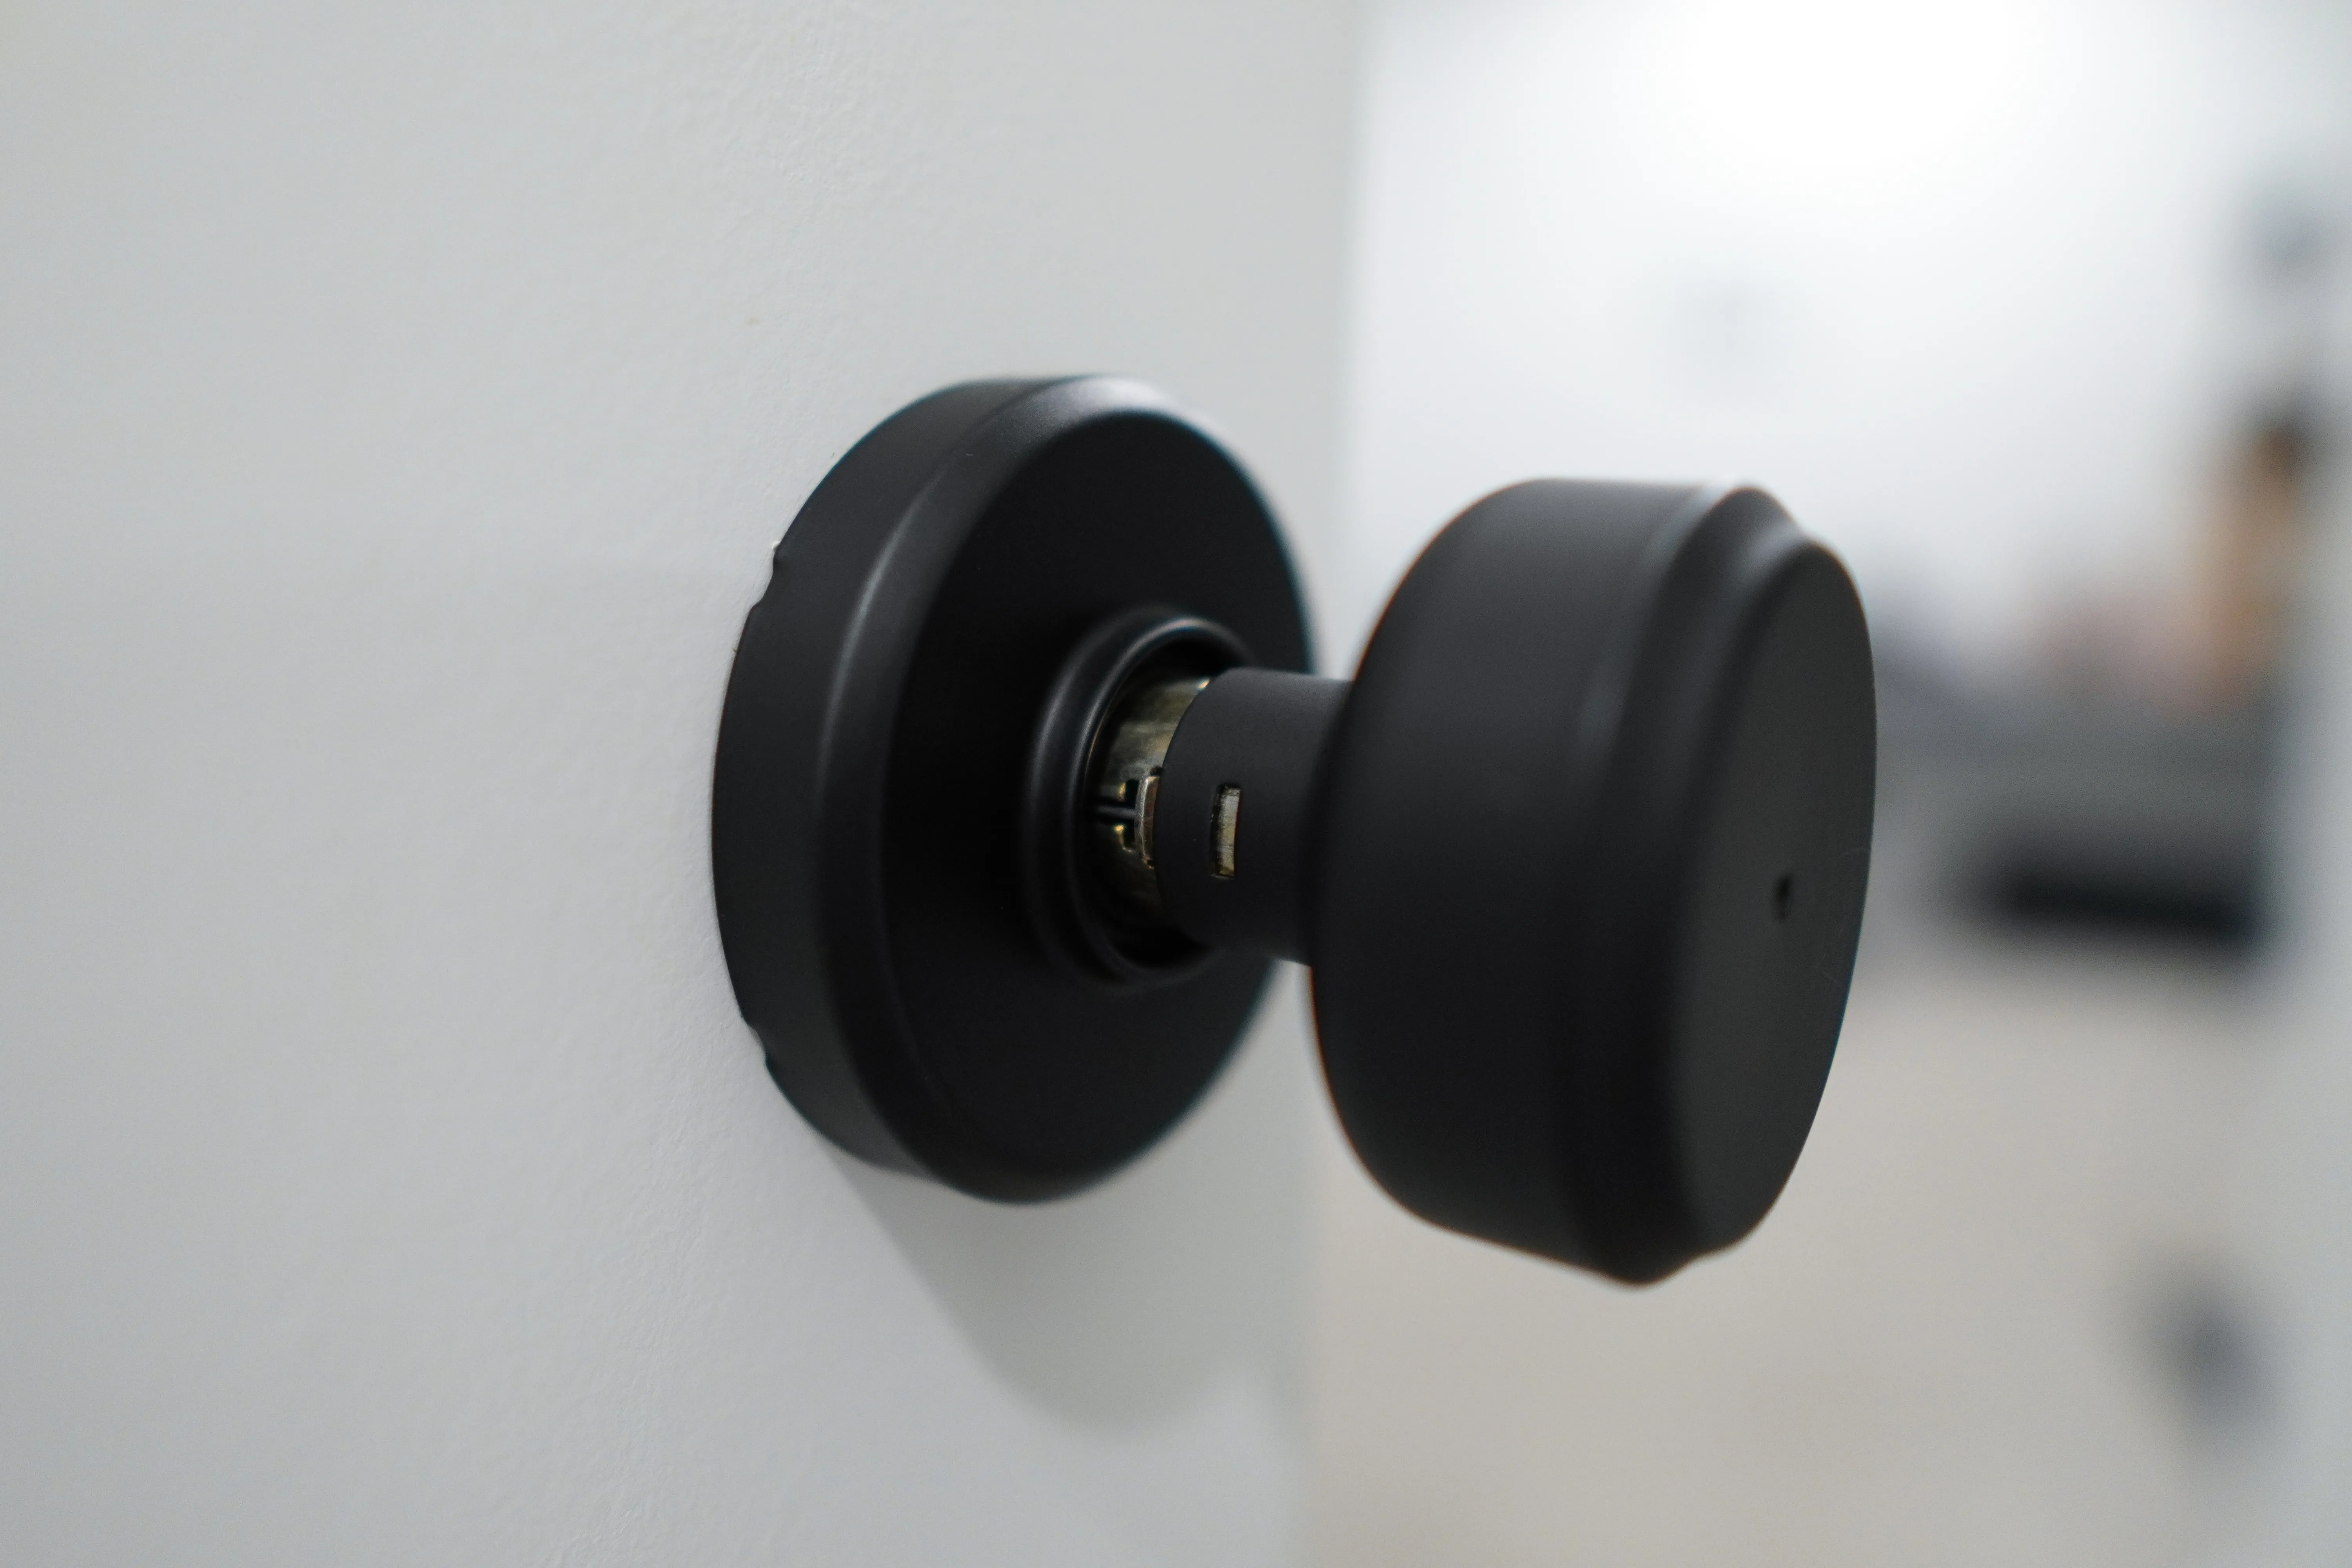
Because the knob goes on last, anything you thread onto its neck first is stuck there for good. That’s the whole trick.
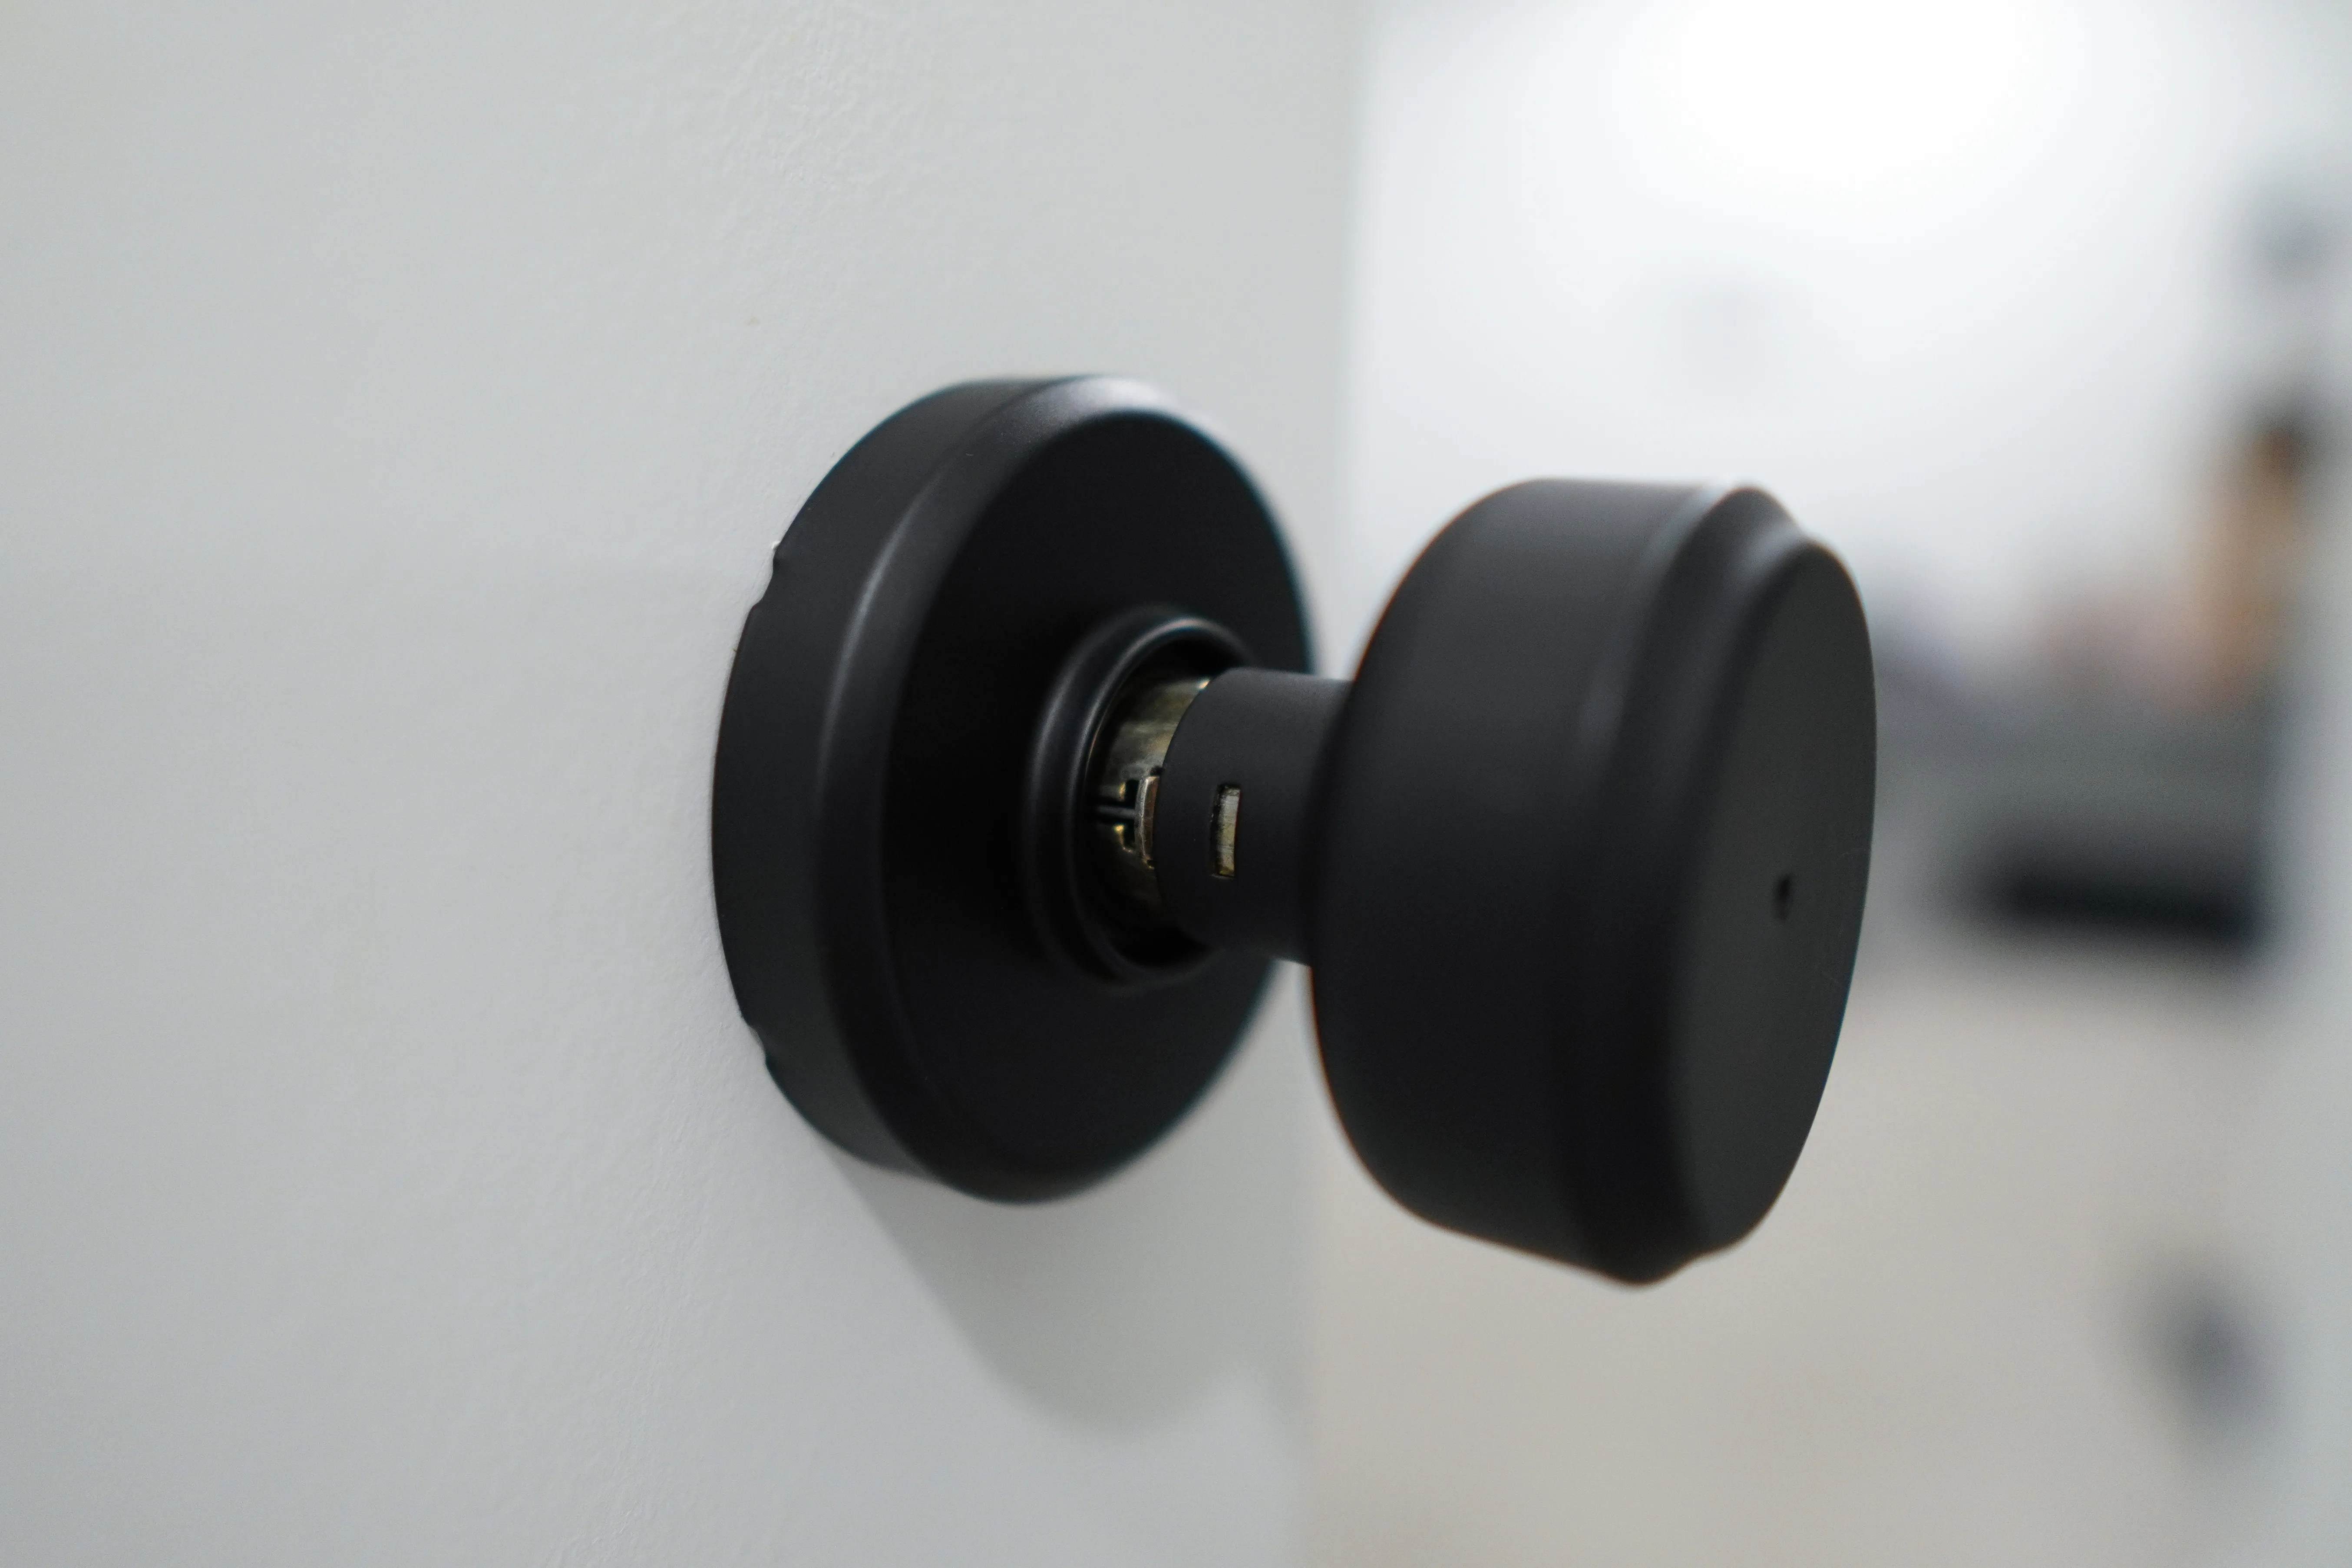
Look at the neck in that photo: there is a rectangular slot in it. That’s the release. Push a pin in there and the knob pulls straight off the spindle, which is how you get an already-installed door apart without touching the trim.
How it works
A conventional childproof cover is a slip ring — a shell that turns freely on the knob until you squeeze it hard enough to grip. The problem with clipping one onto a Bowery is that there’s nowhere to clip. So the cover goes on from behind instead and is held captive by the knob’s own installation.
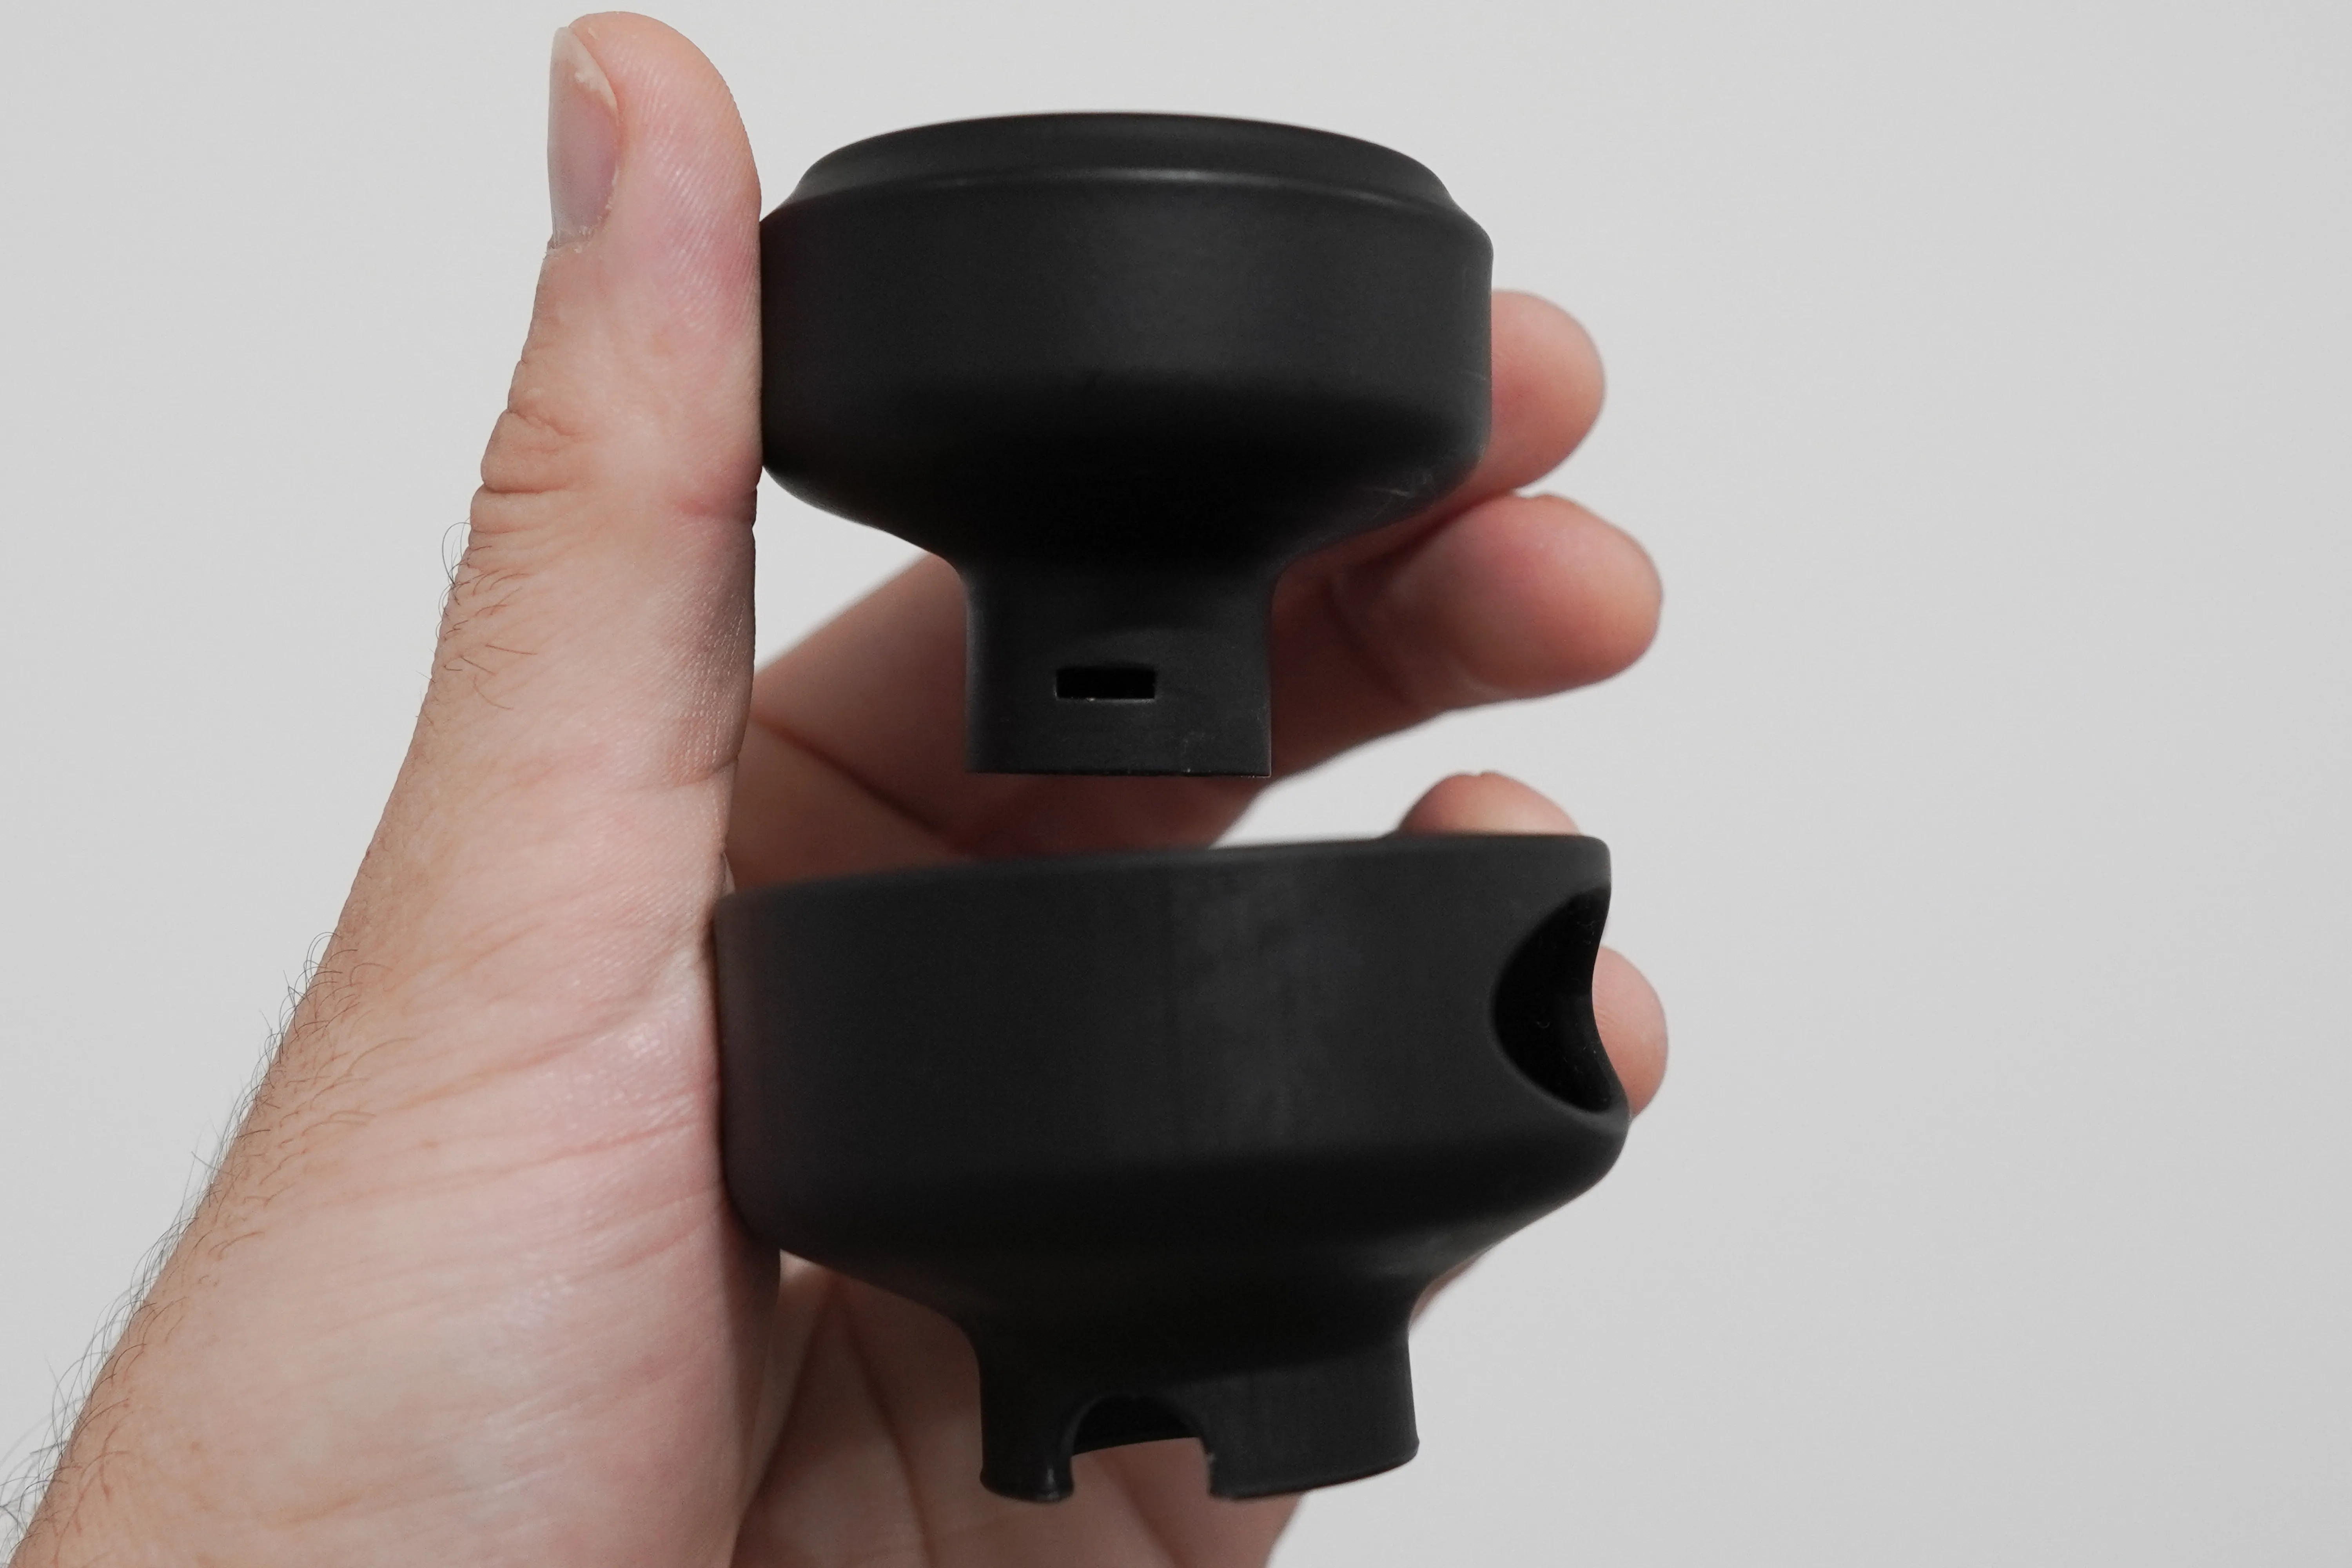
It’s a 63 mm cup with a 3 mm wall and a 40.5 mm rise, narrowing to a Ø23.2 mm collar that sleeves over the knob’s neck. The knob head drops into the cup, the neck passes out through the collar, and the whole assembly clicks onto the spindle as one piece.
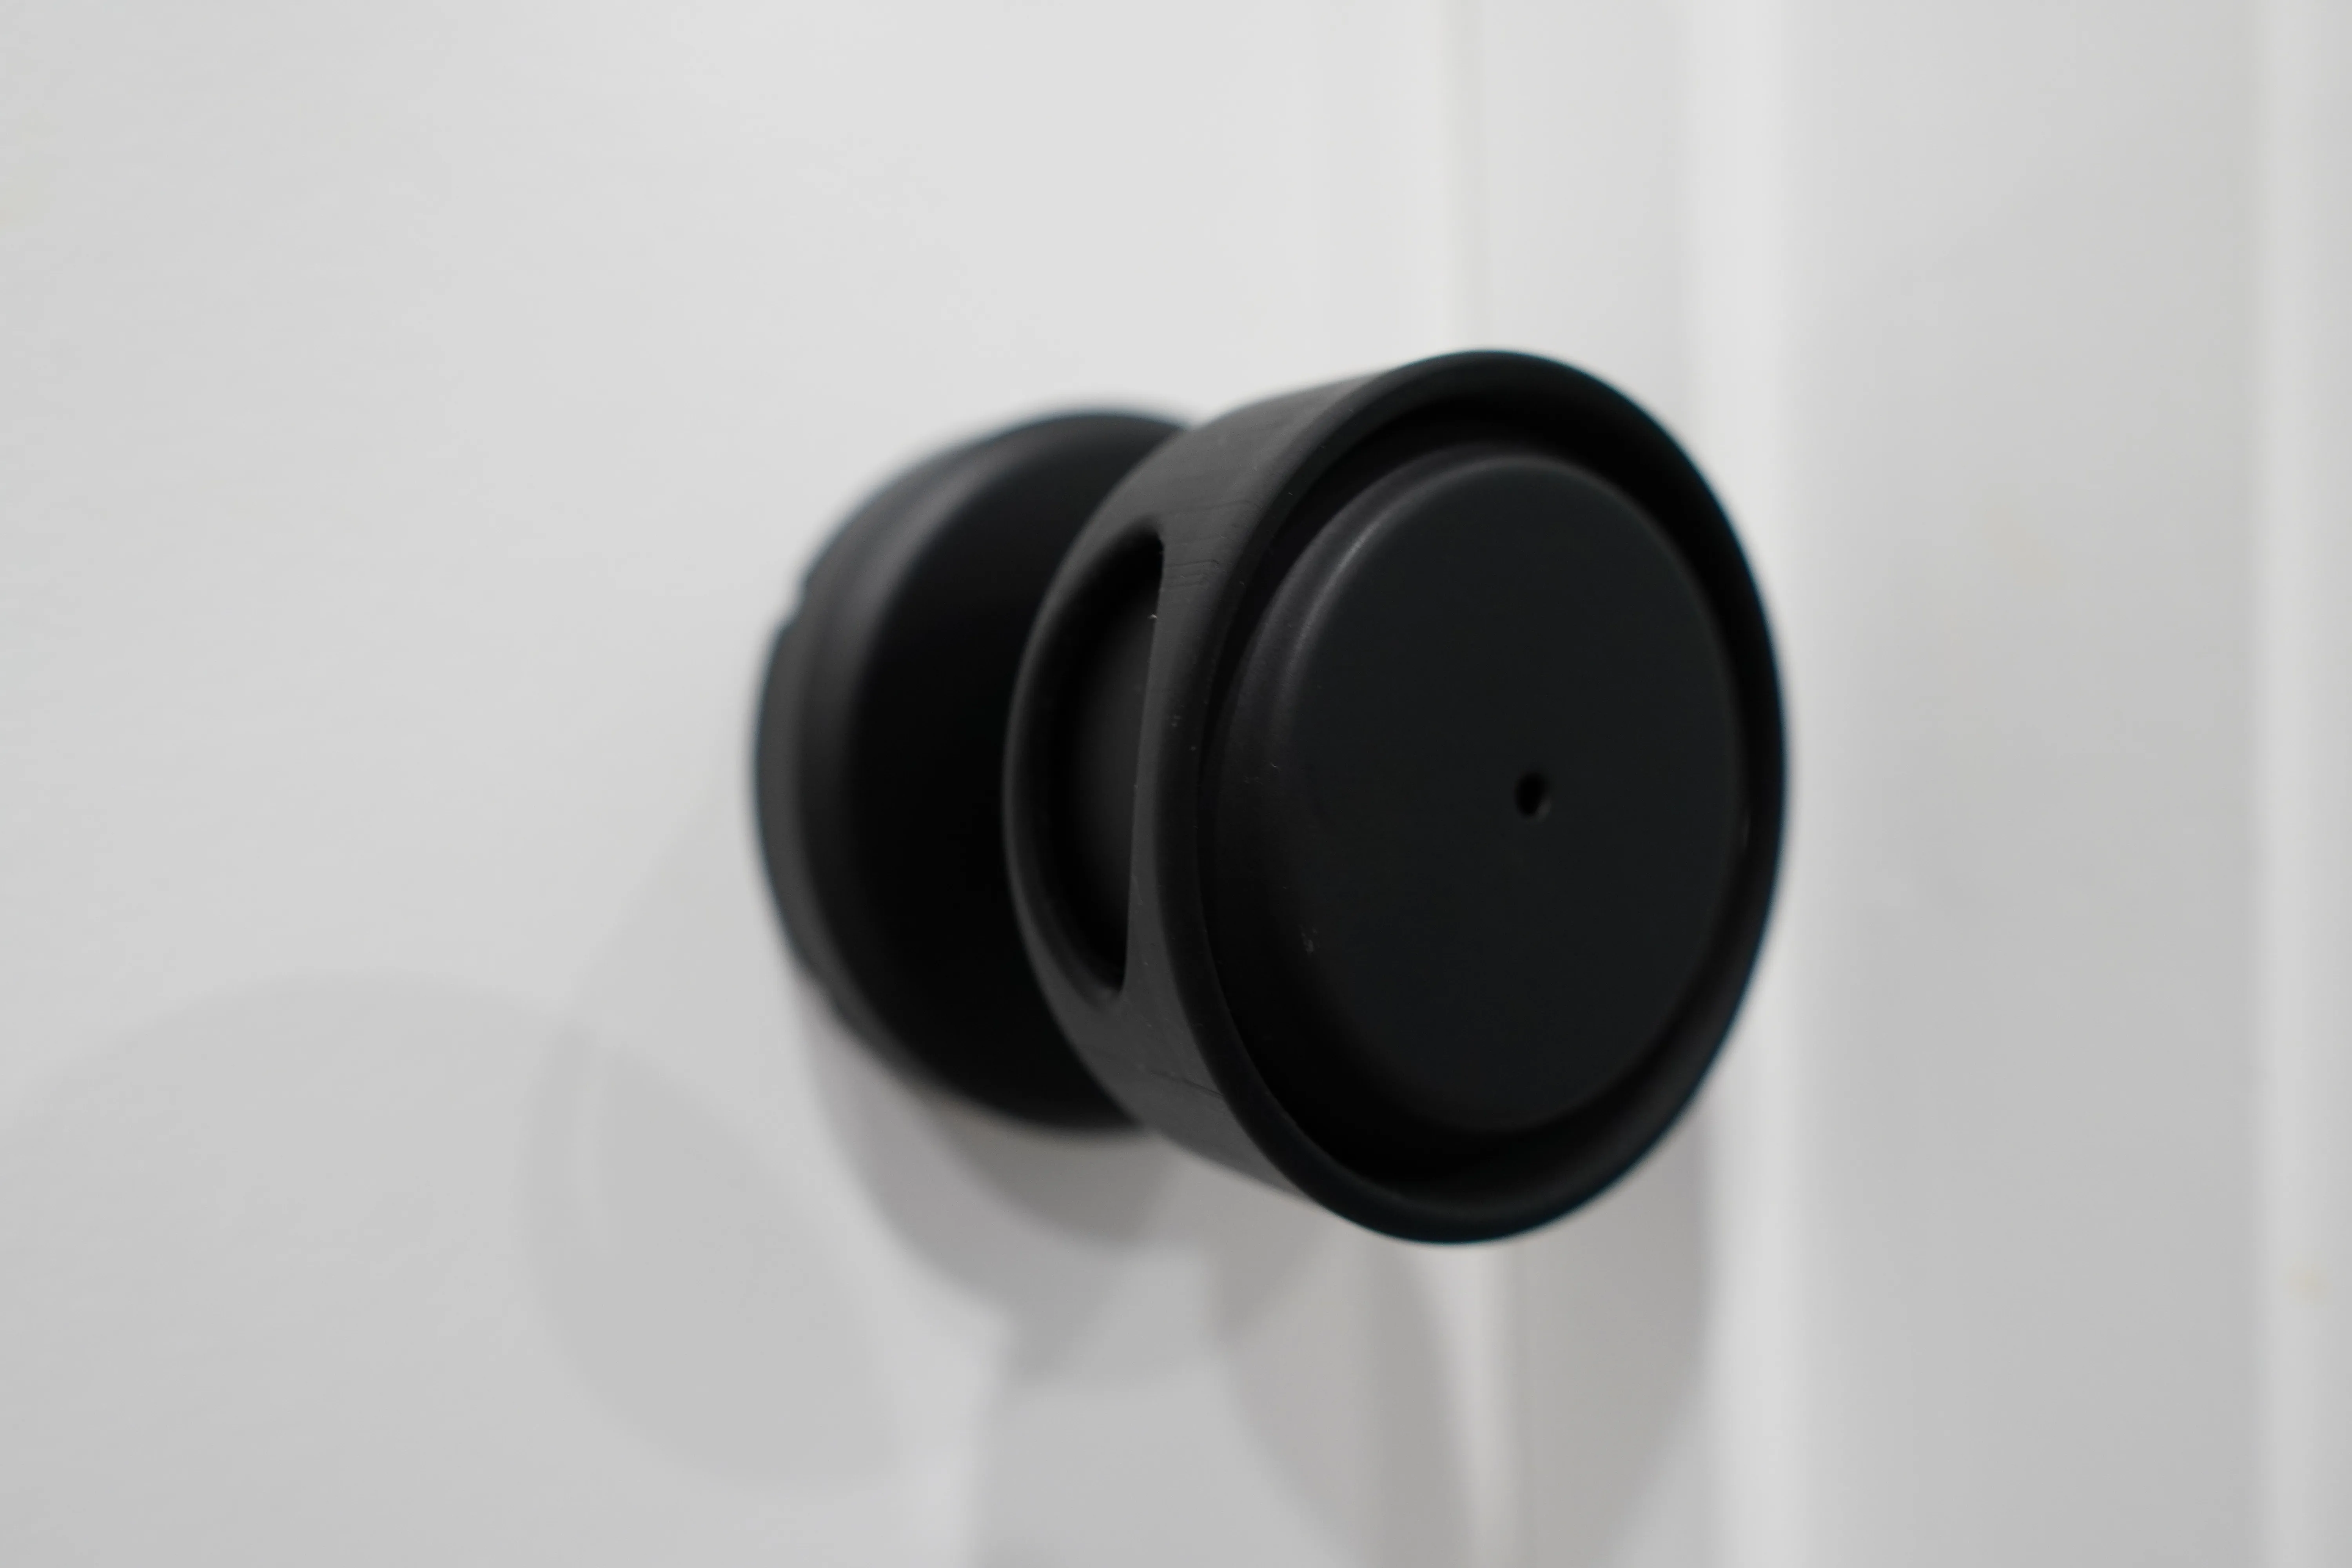
The two openings in the wall are the release, not decoration. Each is roughly 30 mm wide and 14 mm tall, cut into opposite sides of the shell starting 4.5 mm below the rim. An adult hand spans both, presses fingertips through onto the knob itself, and turns. A toddler’s hand can reach one at most, and one is not enough — grab the shell anywhere else and it just rotates.
There’s a third cutout you can see from the door side: a notch about 10 mm wide and 6.6 mm deep in the collar’s door-facing edge. That lines up with the knob’s release slot, so the knob still comes off the spindle with the cover fitted. Without it you’d be prising a permanently installed knob apart.
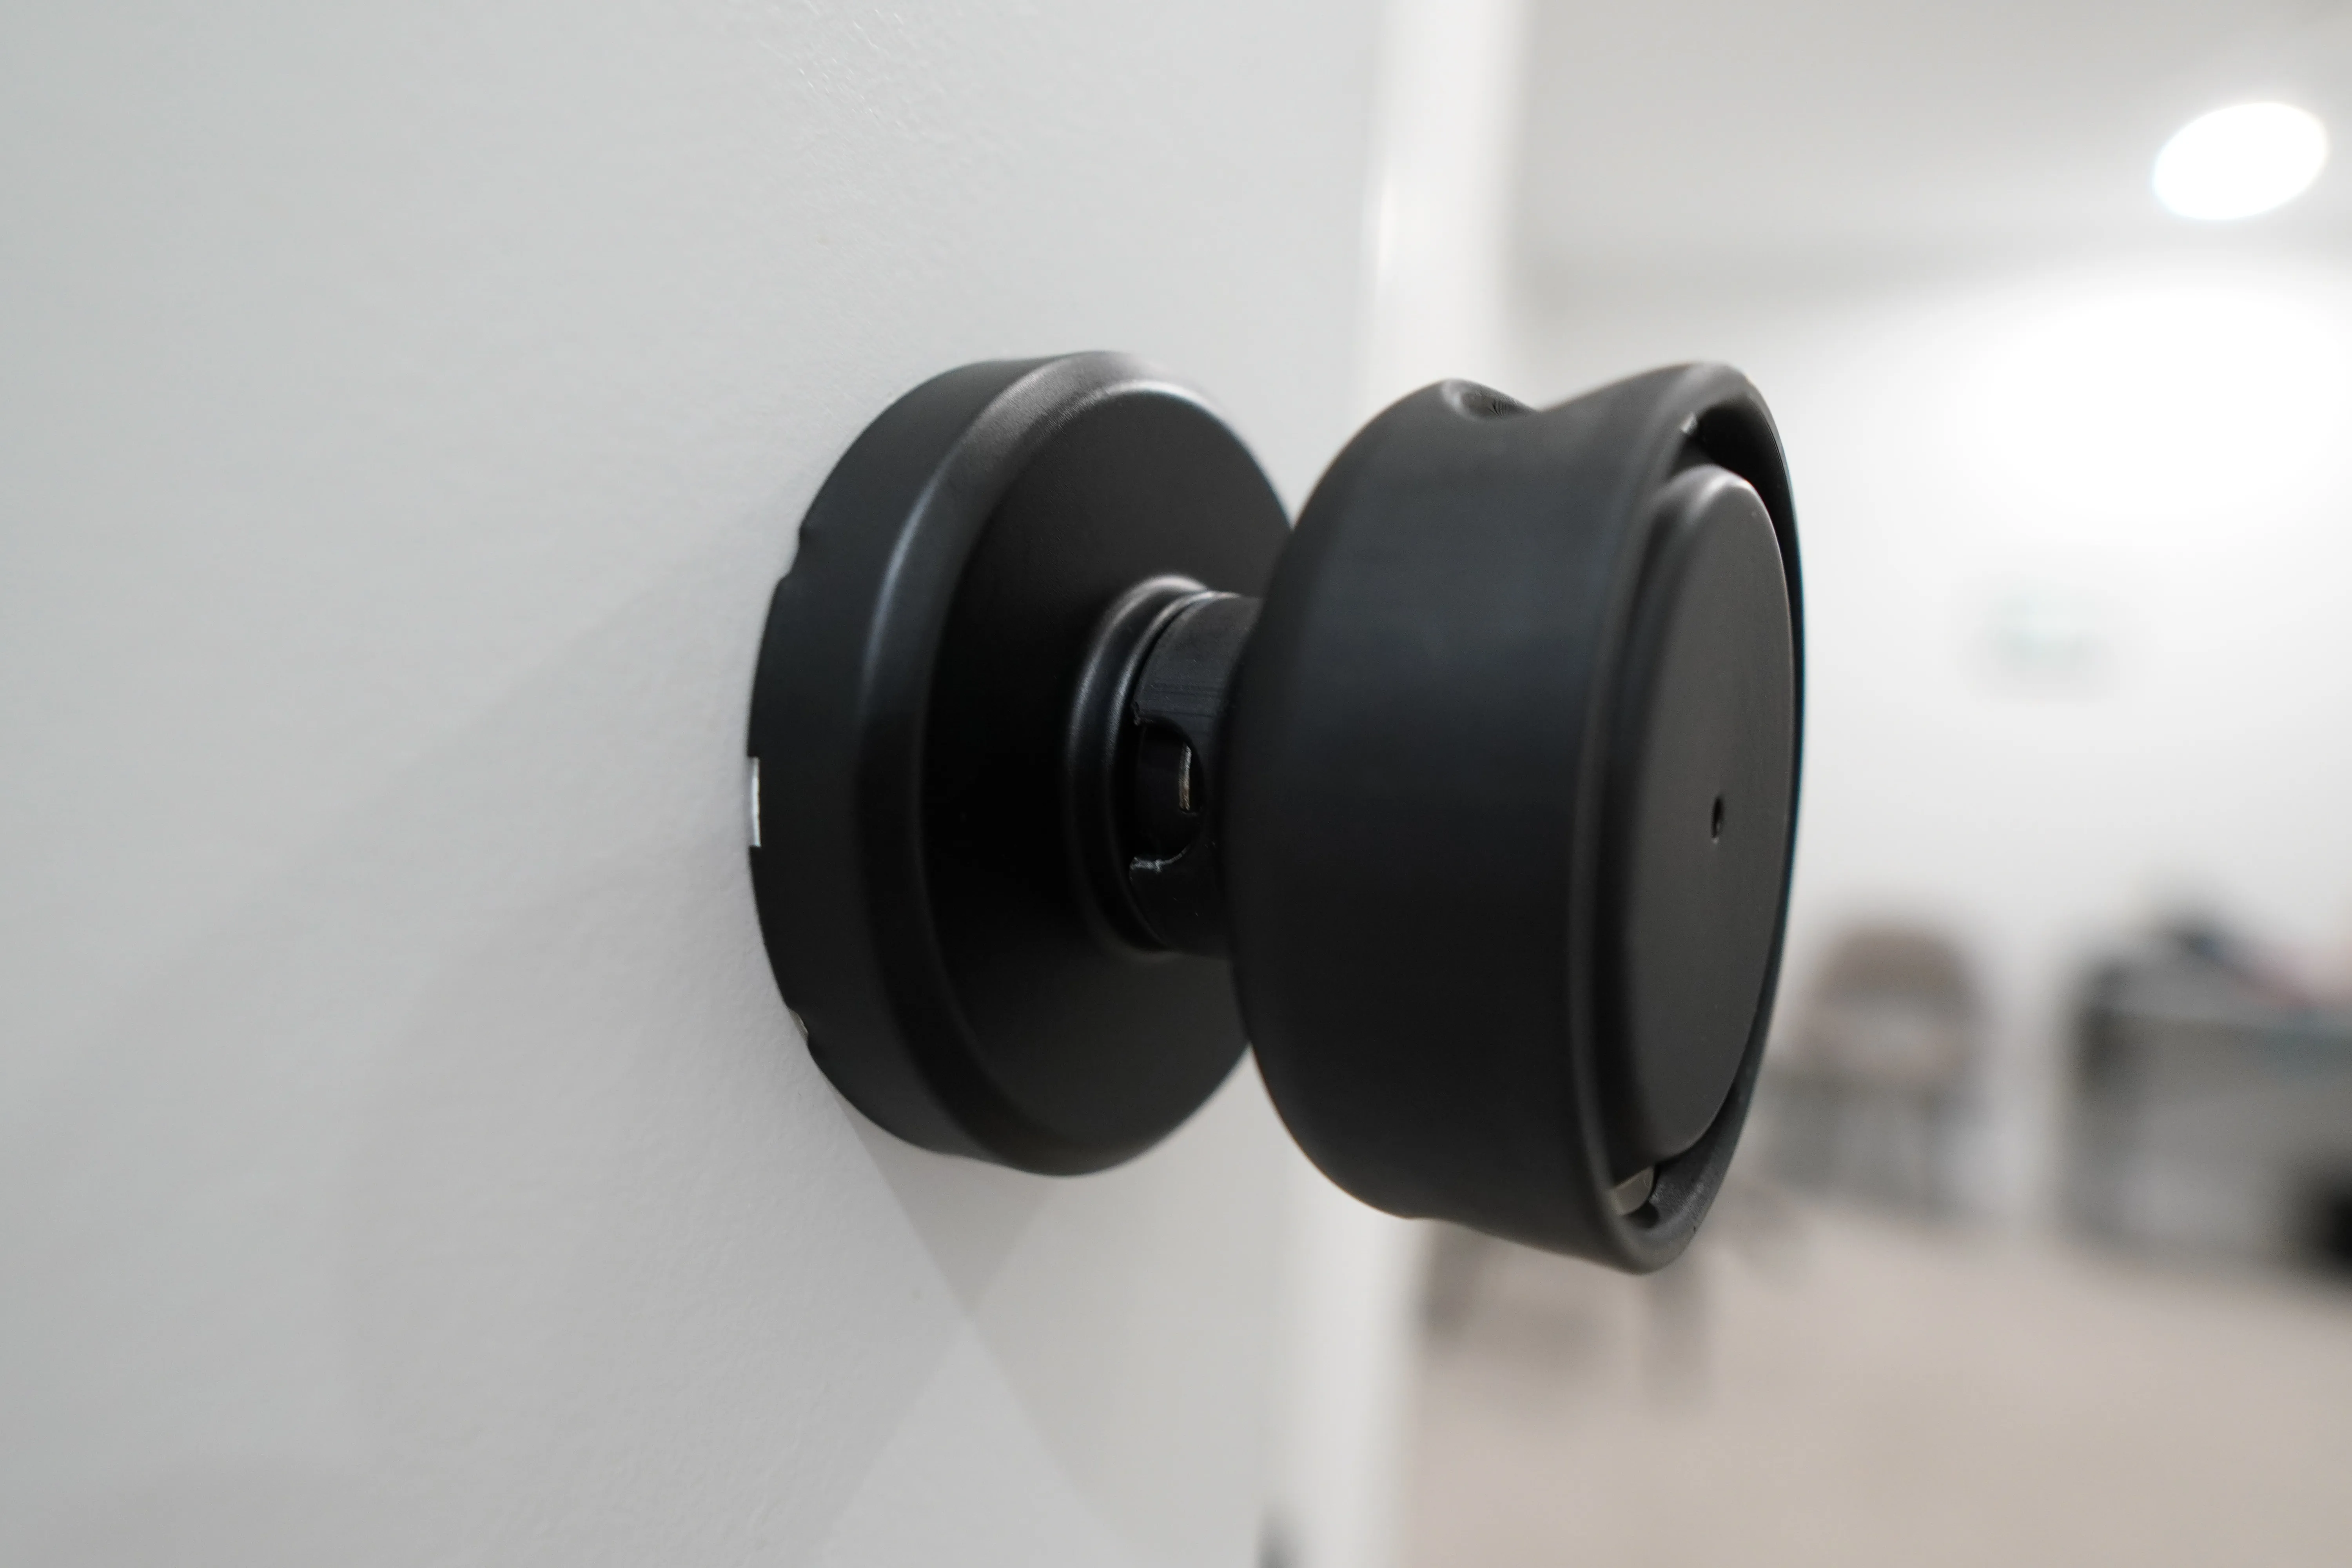
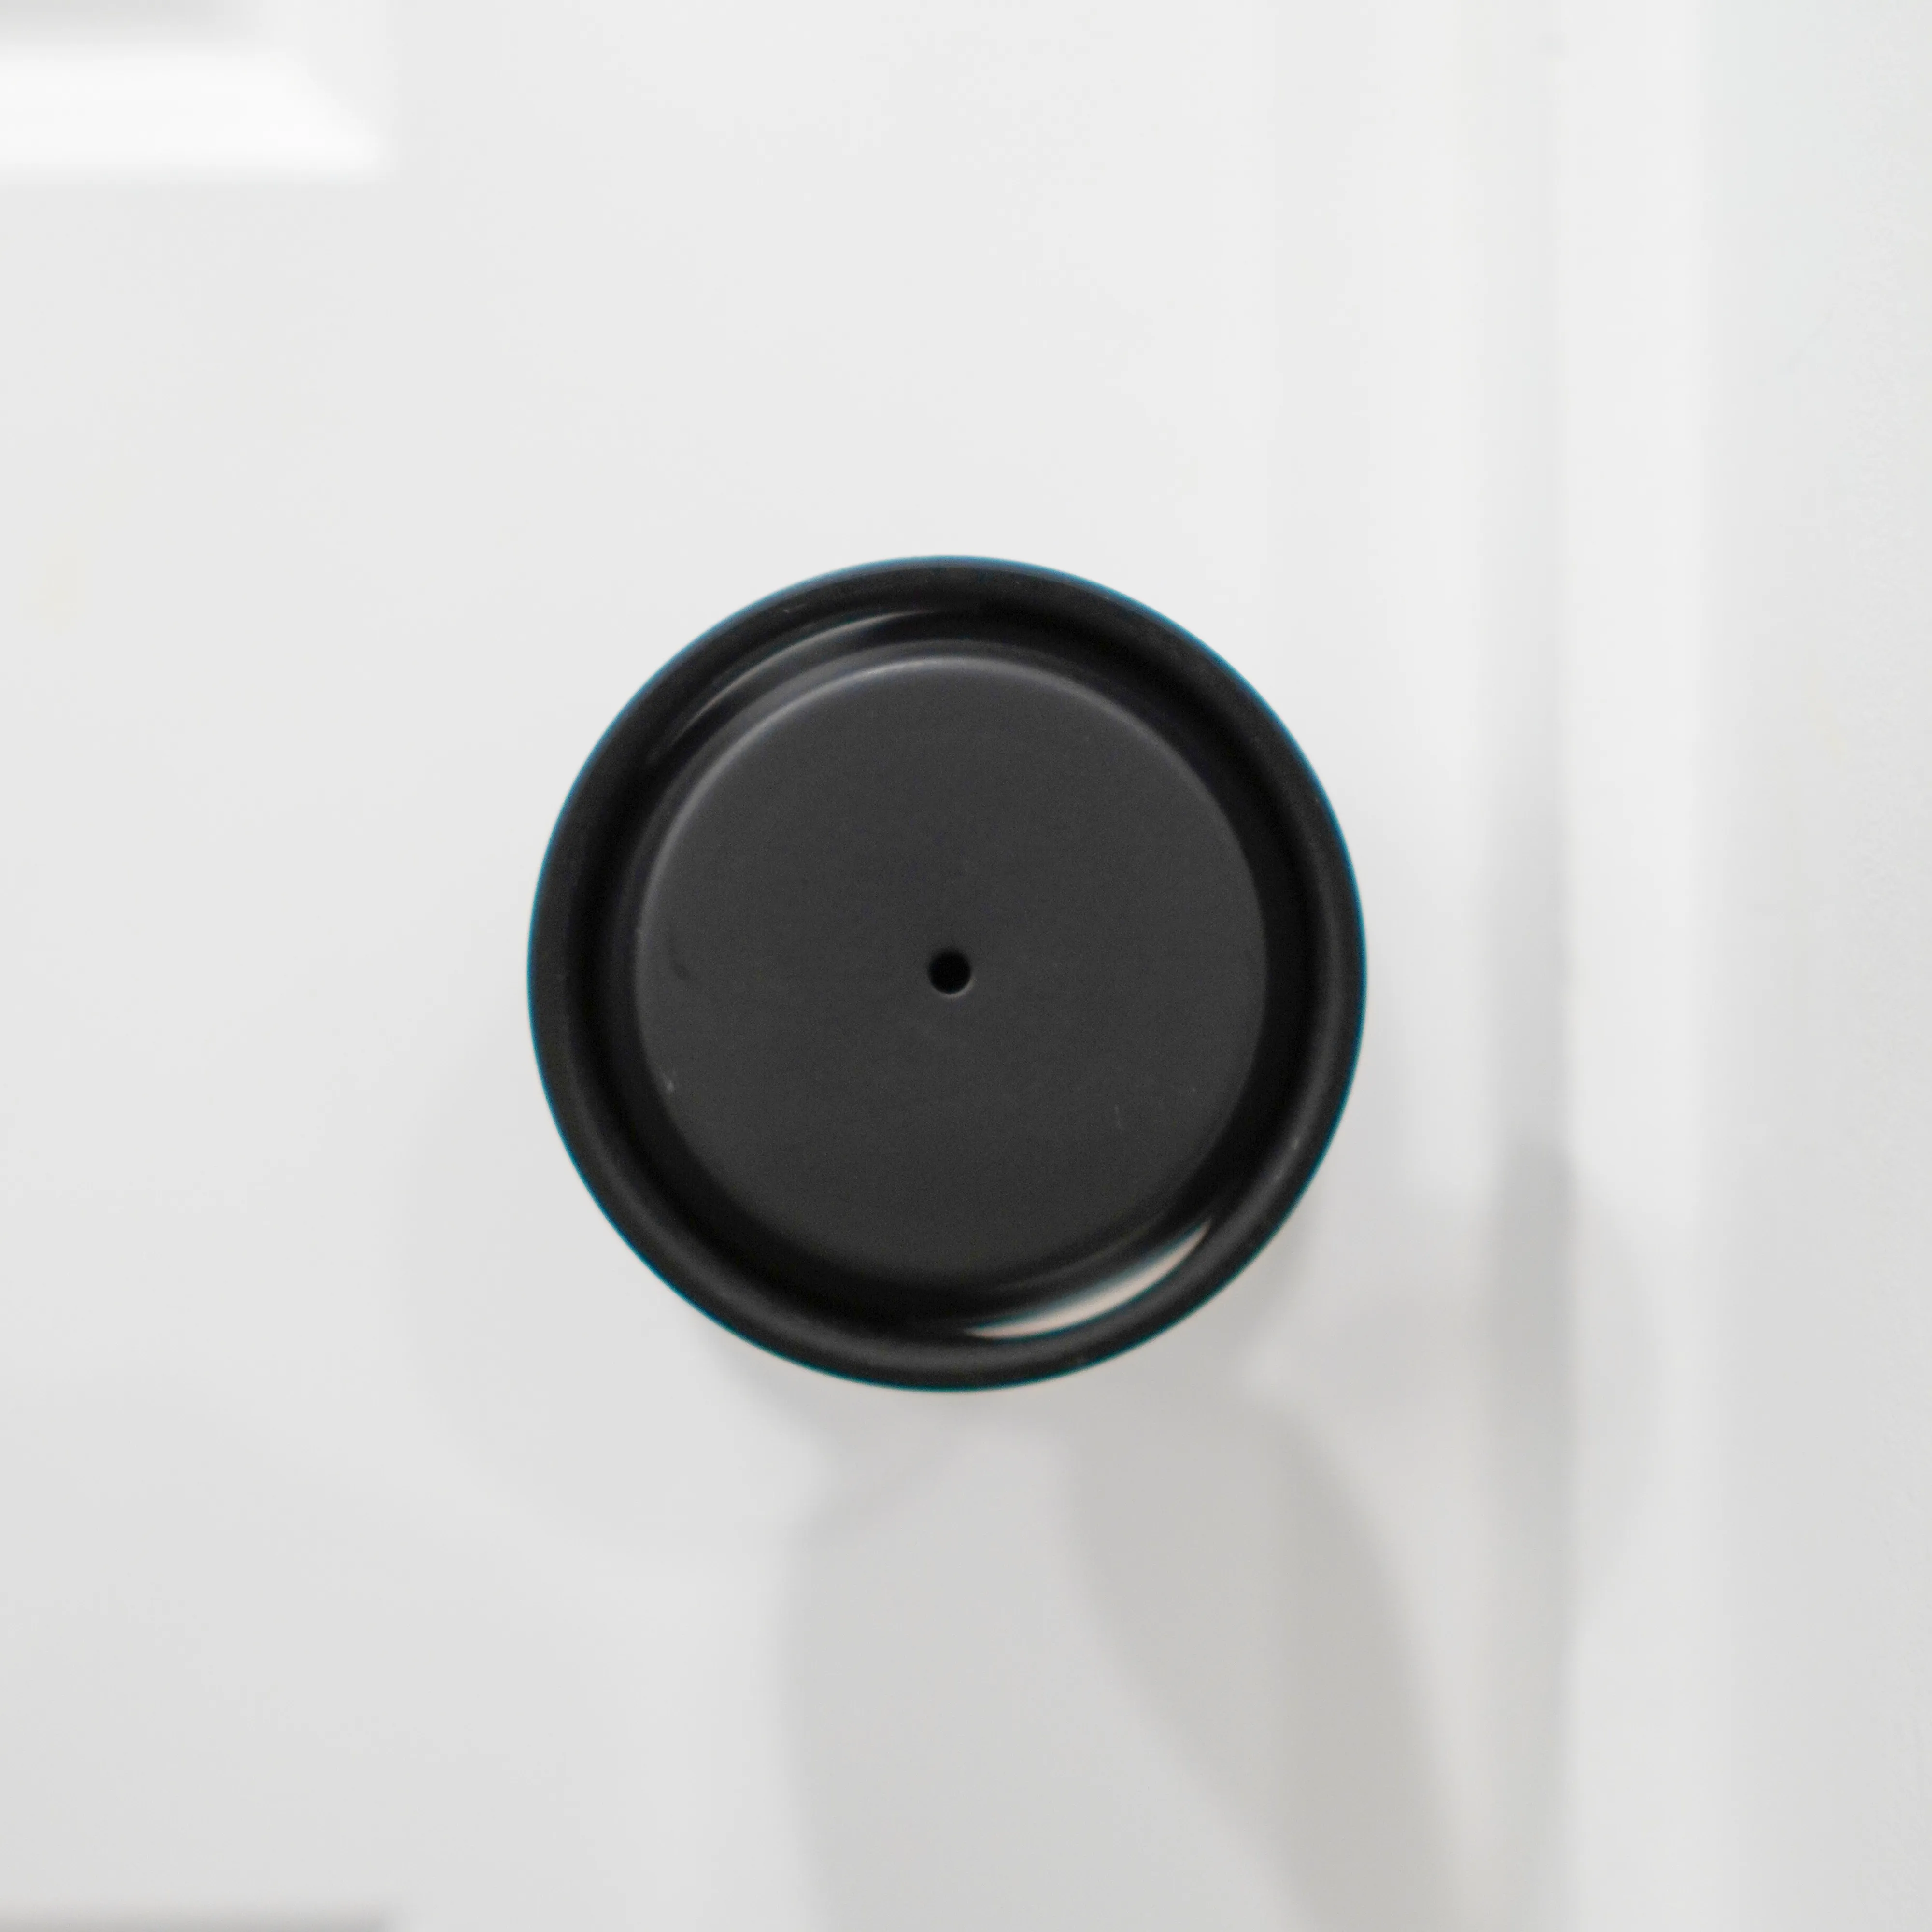
From the front it barely registers — a slightly proud ring around the knob, and that is all.
Print settings
Print it mouth-down — rim flat on the plate, collar pointing up. That puts the whole outer wall vertical, so the one surface anybody looks at never gets a support mark, and it puts every support inside the bowl where nothing shows.
The part is open at both ends, so there is no trapped volume and no suction cup to fight on the peel. Do not tilt it looking for a smaller cross-section; the rim ring is only about 5 cm² and lifts fine on its own.
| Setting | MSLA | FDM |
|---|---|---|
| Layer height | 0.05 mm | 0.16 mm |
| Orientation | Mouth-down, rim on the plate | Mouth-down, rim on the plate |
| Supports | Light, inside the bowl and under the two window arches | Same — none on the outer wall |
| Material | Standard 405 nm resin, water-washable | PLA, PLA+ or PETG. Not carbon-filled |
| Walls / infill | n/a | 4 perimeters, 25% |
| Material used | About 20 mL | About 25 g |
Exposure is per-resin and per-printer — run the vendor’s profile or an exposure test wedge before you commit. The shallow cone inside the bowl is the surface that punishes an over-exposed setting, and it’s the one that has to seat flat against the back of the knob.
Two things to clean up after curing. Knock the support nubs off the inner cone and take them back flush, because that cone is what the knob’s head rests against. Then run a needle file round the Ø23.2 mm collar bore until it is smooth — that bore is a bearing surface and it will be turning against the knob’s paint for years.
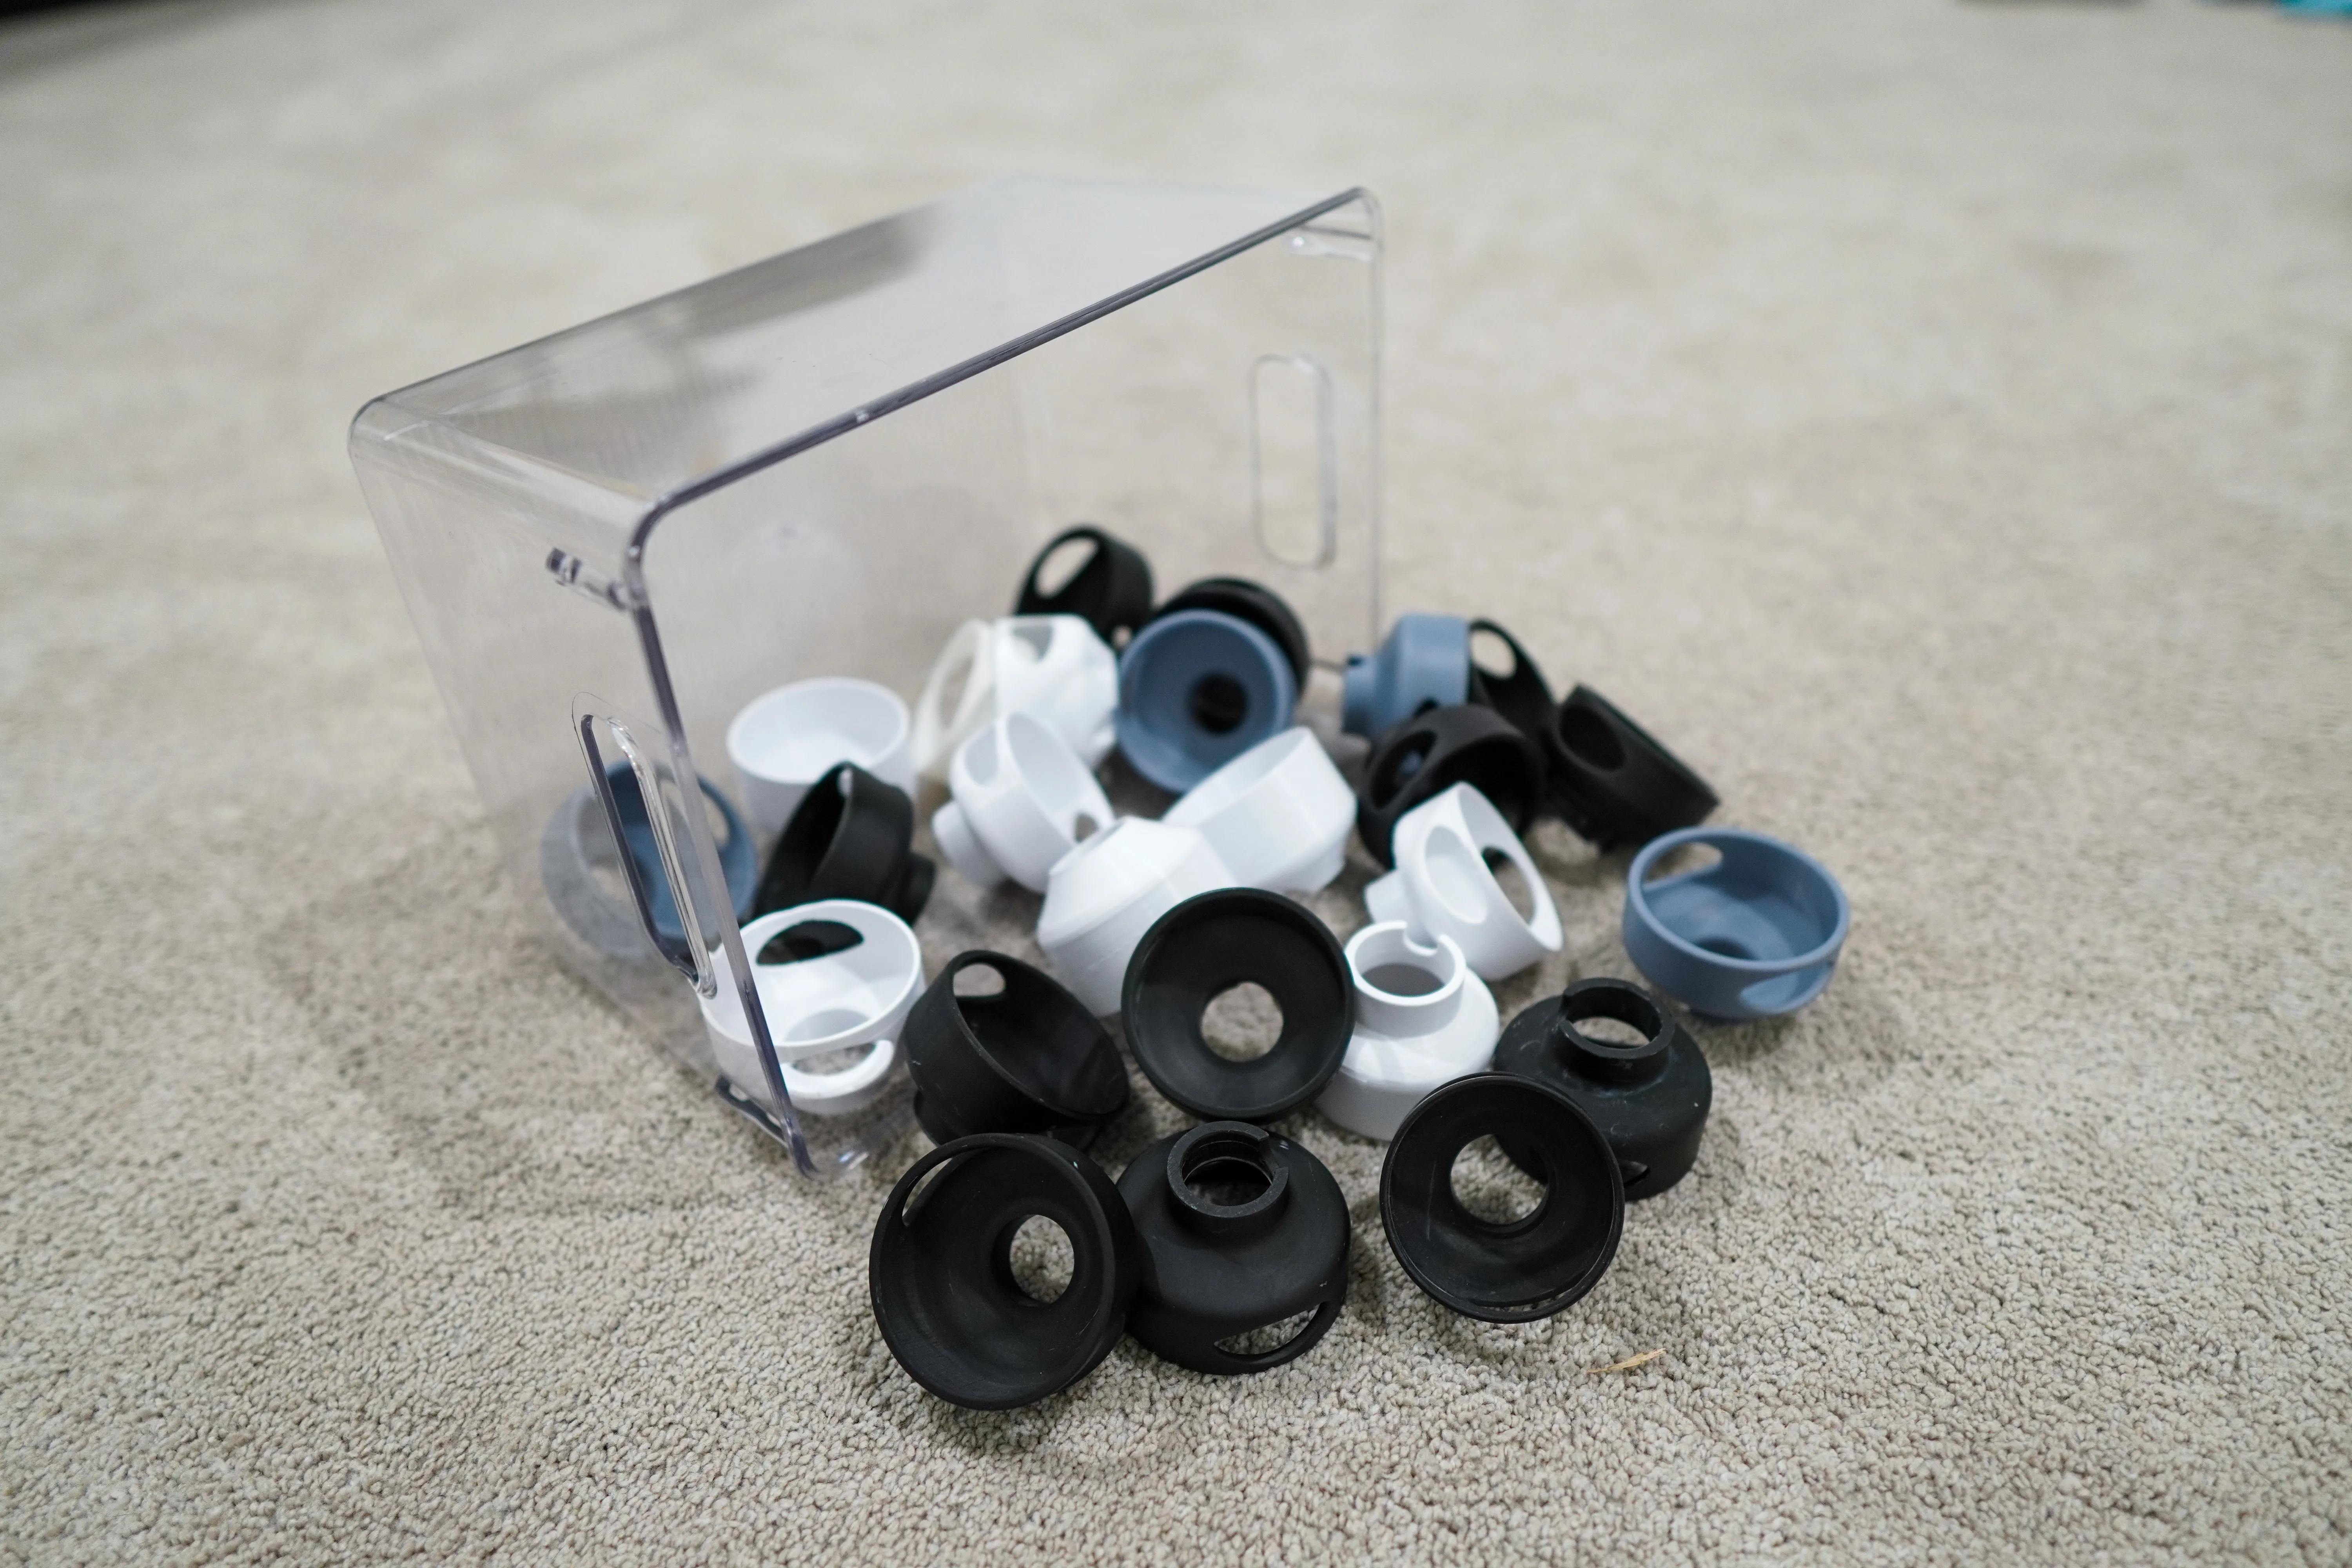
That bin is what “print one and check the fit” actually looks like.
Fitting it
-
Print, wash and cure it. Water-washable resin goes in plain tap water. Don’t leave it in the cure station for twenty minutes — resin keeps shrinking as it cures, and this part’s whole job is a Ø23.2 mm hole staying Ø23.2 mm.
-
Get the knob off. On a door that’s already hung, push a pin into the release slot in the knob’s neck and pull the knob straight off the spindle. On a new install, do the base and the trim ring first and leave the knob off.
-
Thread the cover onto the knob. Neck through the collar bore from inside the bowl, knob head seated down into the cup.
-
Rotate the cover so the collar notch sits over the release slot. Do this now. Once the knob is clicked back on you cannot get at the slot to take it off again, and you will be taking the trim ring apart instead.
-
Push the knob back onto the spindle until it clicks. The cover is now captive between the knob head and the trim ring, and there is no way to remove it that a child will find.
-
Check it spins. Hold the shell and turn — the knob should stay put. If the cover drives the knob, the bore is too tight. Go to the next section.
Getting the fit right
This is the part of the project that takes more than one print, and printer tolerance is why. The bore has to be loose enough that grabbing the shell does nothing and tight enough that it doesn’t rattle or sit crooked. Aim for a shell that turns freely with a fingertip and has no visible wobble.
Too tight — the cover binds and turns the knob with it, which means it isn’t childproof at all. Open the bore up with a round needle file first; it only takes a couple of tenths. If a whole batch is tight, scale the model to 100.5% and reprint.
Too loose — it rattles and sits off-axis. Scale to 99.5%. Resin shrinks on cure, so an over-cured part lands here on its own; cut the cure time before you change the model.
Scale uniformly, in all three axes. Scaling one axis warps the collar into an oval and it will bind in one rotational position and flop in another, which is worse than either failure on its own.
Fit the cover on the side of the door you want blocked, then think hard about which side of that door a child ends up on. A cover on the inside of a bedroom or bathroom is a child who cannot get out — put it on the outside of the pantry, the garage door, the laundry, and leave the rooms they sleep in alone.
This stops a toddler. It is not a lock, it is not certified as a child-safety device, and a determined five-year-old who has watched you open it twice will work it out.
Make your own
The STEP file is in the download section alongside the STL, so the sketch that drives the collar bore and the two windows is editable. If your knob is a different Schlage model, that’s the file to start from — change the bore and the head pocket, leave the window geometry alone, it works.
Printable parts
CAD source
The design itself, if you want to change it rather than print it. A STEP file is exact geometry and opens in almost anything; a Fusion 360 archive keeps the modelling history, so you can go back and edit the sketch that made the part.
- bruh_schlage_bowery_child_proof_door_knob.stepSTEP — opens in Fusion 360, FreeCAD, Onshape, SolidWorks